Showing posts with label wargames terrain. Show all posts

Thursday, 6 December 2018

15mm resin scenic stuff

I am always on the lookout for 15mm scenic items, especially things for WW2 that I can use in games of CoC.

Therefore I was really pleased to pick up these nice resin ruined buildings from Ironclad Miniatures at the club's recent Reveille show. First, there is a really nice ruined factory. I very much like the two storage tanks at one end of the building.


The other one is a ruined building that could either be a house or part of a larger factory complex.


Both of these paint up really well. The models are clean and have no flash. I hope that more buildings of this type will appear in the future. Well done, Ironclad!

To complement these two, I have also painted up some pieces from Baueda, again purchased at Reveille, from the Magister Militum stall. I am a big fan of Baueda resin stuff. It is always a joy to paint and the WW2 stuff has lots of nice details. This small building was made from two pieces glued together on an MDF base to  make another ruined building for the factory complex. I added more debris using Javis crumbled cork boulders and sand and stone mix. I really like the way this turned out once it was painted up.


Finally, here are two other Baueda pieces, plus a resin fuel dump I picked up from the The Square stand at Colours.


Clearly, the two Baueda pieces will work as part of the factory complex. The fuel dump is always going to be useful. It will work nicely with the one I painted earlier in the year. I reckon that if you want a fuel dump, you want at least two stacks of oildrums.


I have a game of CoC planned for a couple of weeks' time, so I think that my Germans might be defending a bombed out factory against the evil Bolshevik hordes.

I've got quite a few other resin things that still need work. So, it is either get those done first, or go back to my 28mm FIW Régiment de Guyenne troops, which I need for the end of January. Decisions, decisions!

Saturday, 7 April 2018

Some resin scenic pieces

I've had a lot of various resin scenic items sitting in a box for ages, both 15mm and 28mm scale, waiting for me to get round to doing something with them. I wish I could remember who made these particular ones, but I'm afraid that I cannot be sure at all. I am pretty sure that a few are from The Square, but their website seems to be lacking in pictures. Anyway, I bought them all at various shows over the last couple of years. The ones shown here are all for 15mm gaming.

While working on finishing off my Peter Pig CoC stuff, I decided to paint a few 15mm items up as well. These were simple to get finished. All I did was spray undercoat them, add patches of earth tones and dry-brush them (using my favourite dry-brushing colour, Vallejo Iraqi Sand) to bring up the detail, and then some final flocking on a few around the edges. Finally, finish off with matt spray varnish. As you can see, I've given a couple of the craters a darker brown bottom, the idea being that this represents a pool of muddy water.

The first picture shows a number of different-sized bomb craters, plus four rustic-looking haystacks. 


The haystacks were even quicker; spray undercoat, glue to MDF round bases, heavy dry-brushing with Iraqi Sand and some grass flock on the bases before spraying with matt varnish.

The craters are clearly going to see most use in WW2 games, indeed they could even be used as Jump-Off Points for Chain of Command, and the haystacks will be useful for pretty much anything historical in 15mm. I can see these being used in my SYW imagi-nations games.

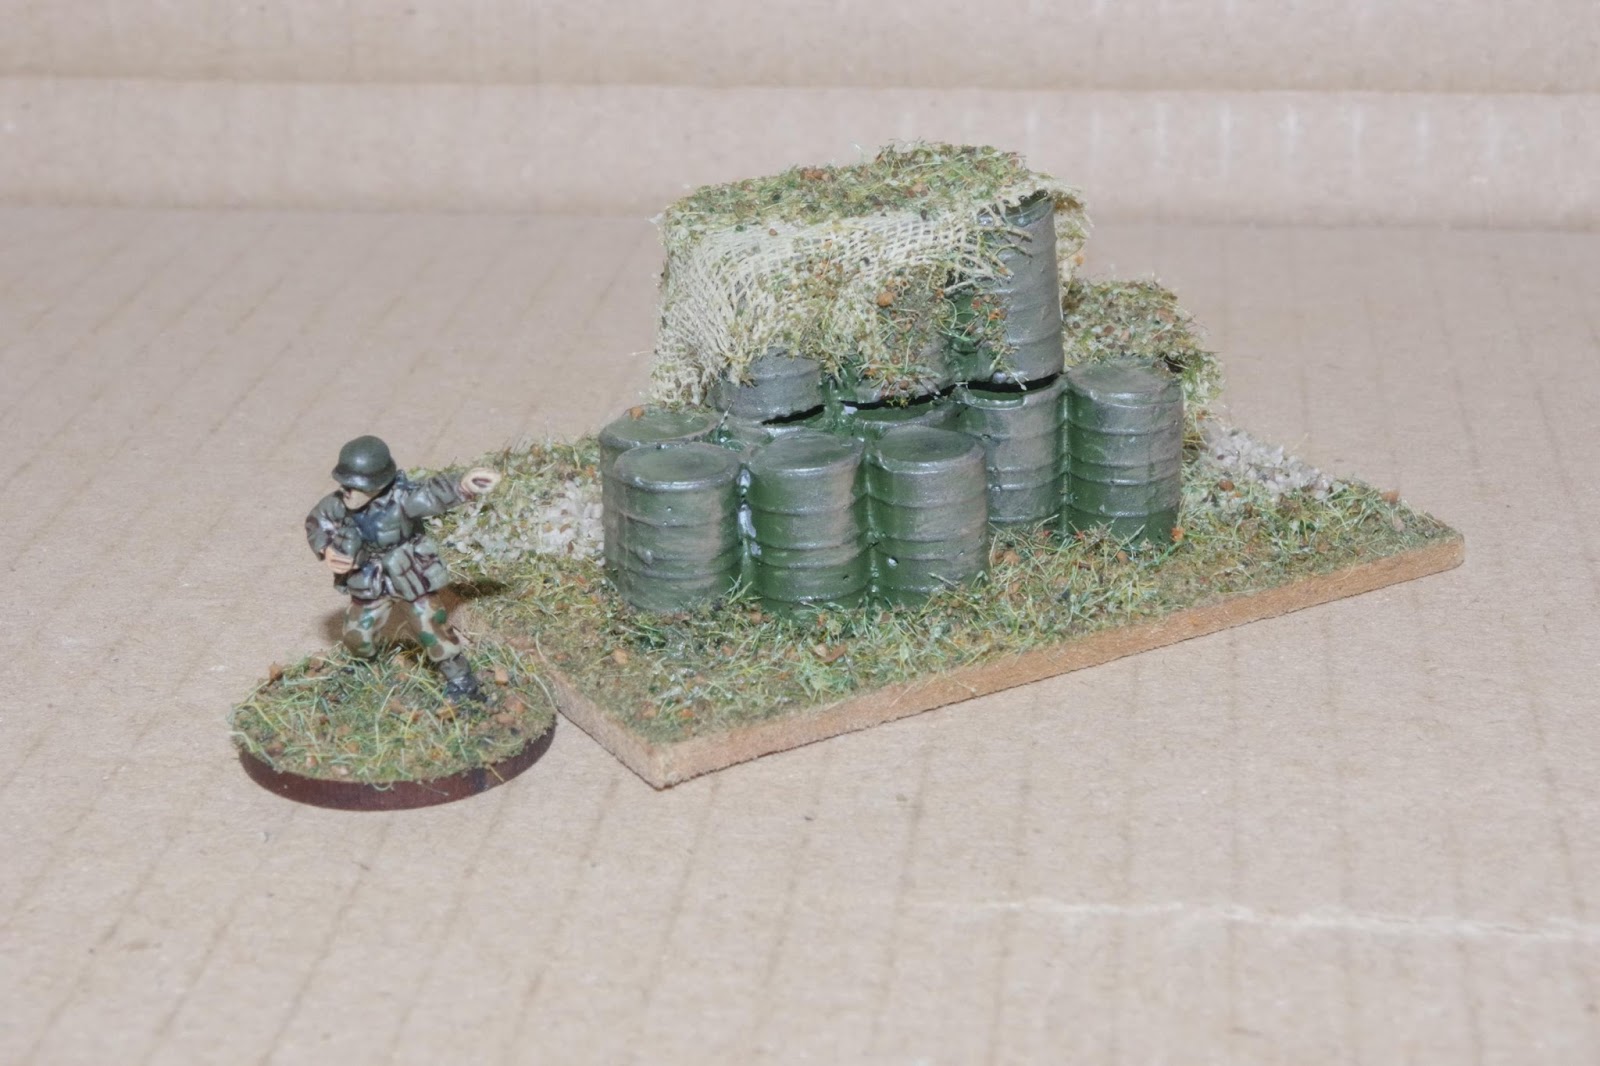
The second picture is a fuel dump, with camouflage netting made by me from butter muslin added for effect. This is going to get used in my forthcoming game of CoC as an objective.


The figure is for scale only. I dyed the muslin with dilute Tan Earth paint and glued it in place with diluted PVA glue, before sprinkling flock over the top.

Monday, 12 February 2018

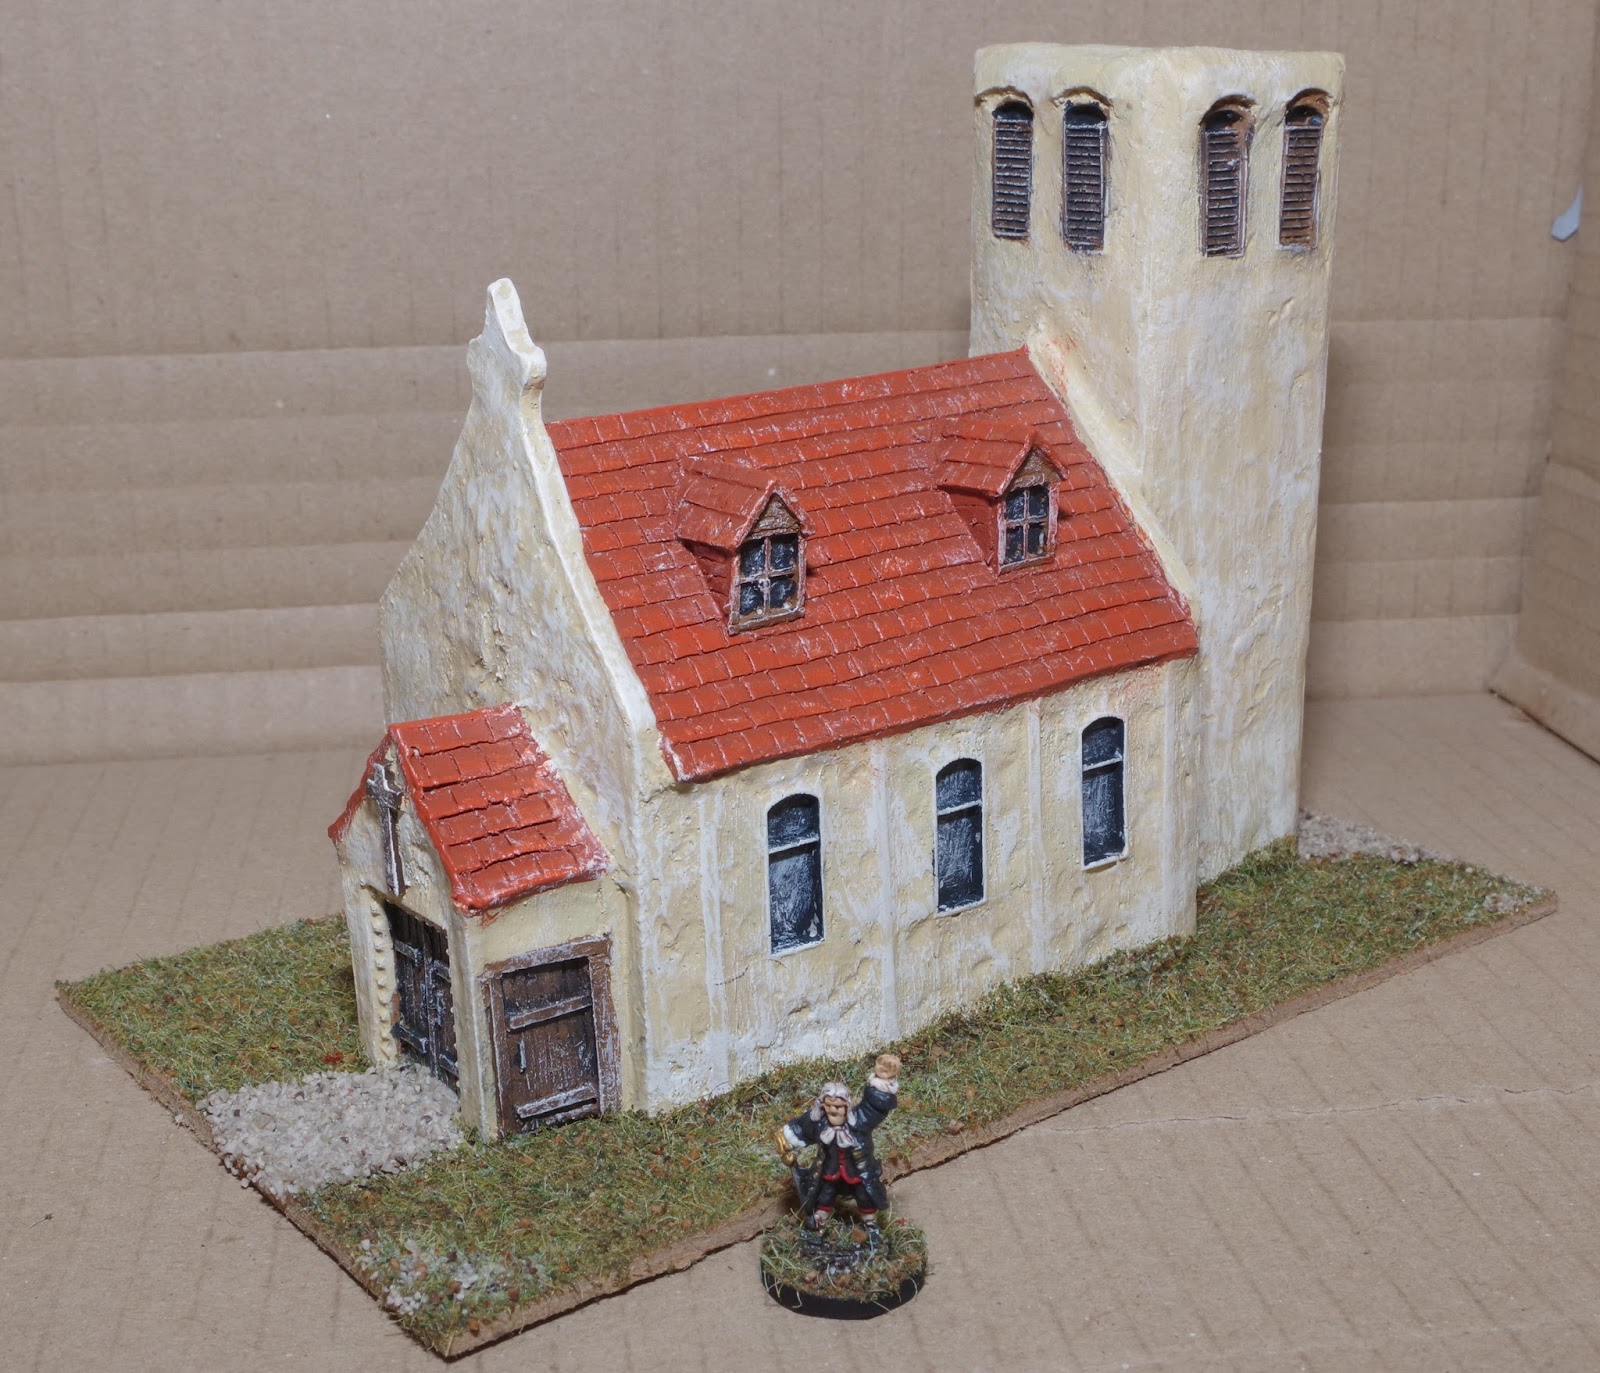
A nice 15mm resin church

I bought this 15mm resin church model a while ago from a bring and buy table at the club's HOTT tournament. It only cost £4 and was originally produced by an American company called Scenic Effects, about whom I know nothing.

Anyway, as it has a sort of vaguely Mediterranean/Spanish look to it, I thought that it would be ideal for my Syldavian and Bordurian SYW imagi-nations games. I see it as a Syldavian church, maybe one from the coastal regions where outside influences could easily have included those from Spanish-controlled southern Italy in the 16th century.


The figure is from Peter Pig, actually from their Pirate range, and is the Holy Man for my Syldavian troops. He is a somewhat martial Catholic priest, armed with a sword.

I really rather like this building. It was a fairly quick paint-job and is going to be useful for other games too, hopefully. I think it is quite characterful and I might have to get some other buildings that will fit in with it on the table. The Hovels Spanish 15mm buildings look like a decent set.

I haven't written much about Syldavia and Borduria for quite some time, but they are never far from my thoughts. I've been thinking on and off about some Ottoman opponents for both countries, seeing as they both have southern borders with the Ottoman Balkans, and that particular mini-project might happen later this year. I also want to paint up some Syldavian militia, who will probably be based on Essex SYW Austrian Hungarian musketeers.

Tuesday, 19 December 2017

Securing the redoubts (Take Two) - A Sharp Practice ACW AAR

A while ago, I umpired a game of Sharp Practice for Andy and Nick at the club. The scenario was one where the Union side had to try and capture some reboubts that had been abandoned by the Confederates, while the Rebels were attempting to regain control of the same defences.

The scenario was fundamentally sound, but the Union side was pretty much handicapped by having too much open ground to cross before being able to engage with the enemy. I wanted to replay this, but decided that what was needed was a more cluttered table, so that there was more cover for the attacking Union troops, led by me. I also gave them a unit of cavalry, who were defined as Dragoons with breech-loading carbines. The Confederates, with Nick once again commanding, gained an extra unit of musket-armed militia.

Here is the battlefield, with more tree cover and fences than previously. The hill on the Union side creates the effect of a valley between the two sides.


From this end of the table. we can see the Union deployment point, marked by the tents. The Confederates will deploy from the middle hill on the right of the table.


The Union troops began to deploy quickly, with the carbine-armed cavalry aiming to secure the hill on the Confederate left.


The Rebels also began to deploy, with their cannon making an early appearance.


Quickly getting the cannon into the central redoubt, and a unit of skirmishers in the paddock below the hill, the Confederates had stolen a march on the Union troops


While the main body of Union infantry took up a firing position along the fences on the Union right flank, both units of skirmishers and a second group of infantry took up position on the hill and in the wooded ground in the valley. From here, the idea was for the skirmishers to advance and pick off the gun crew.


On the Union right, the cavalry advanced, dismounted and began to deploy in cover behind the hill on the Rebel left. 


The main Confederate infantry line waited in support of the cannon position, with the militia being pushed forward to try and neutralise the Union  skirmishers, whose accurate fire had already caused casualties and shock on the cannon crew, actually hitting the gun commander and knocking him out. He would stay down for much of the battle, limiting the effectiveness of the cannon.


The Confederate infantry were soon in action against the dismounted Union troopers, to good effect. The Union skirmishers were also taking casualties but succeeded in driving off the Confederate sharpshooters who had been screening the gun.


The dismounted cavalry were forced back with heavy losses but were replaced by the main Union infantry line, who split into two parts and advanced to occupy the hill.


The central redoubt was captured by Union skirmishers, who succeeded in killing the gun crew, but were themselves then pushed back. This fight would to-and-fro for a while while the Union troops were able to force the Confederate militia to flee the field.


Although the troops on the Confederate right had been mainly stuck with the task of holding the redoubt there,  they did eventually send one group of men to reinforce the centre, making it difficult for the weakened Union centre to hold on to the redoubt. With one redoubt in Union hands and two controlled by the Rebels, the issue became one of attrition. Which side was strong enough to seize the advantage?


As things turned out, the Union forces would prove to be too weak to press their advantage so, with time running out, the game was guaranteed to be a draw. Perhaps the Union side had a slight advantage in numbers, but not enough to capture the central redoubt.

Once again, this scenario was an entertaining one. In typical Civil War style, the fighting was inconclusive, with both sides taking a lot of casualties. With hindsight. it would probably have made more sense to send the cavalry on a long flanking  manoeuvre on the Union left and use the skirmishers on the right instead, sending the bulk of infantry through the centre.

Wednesday, 13 December 2017

Lincombe Barn Wargames Society Alien Squad Leader Tournament

A couple of Sundays ago, the club held its annual ASQL tournament. This was the first one that I'd taken part in, so it was something that I was looking forward to a lot.

There were eight of us taking part and the format meant that we would all play three games using 150pt armies, each one on one of five different tables against a different opponent. The terrain was pre-defined and the encounter would be a simple Pitched Battle, with points for the number of stands destroyed, plus the number of hits caused to the rest of your opponent's army. The result would them be translated into a share of 50 points, 25 each for a draw, and a sliding scale of points depending on the size of a win.

I'm not going to go into each battle in any great detail, because I was obviously not watching the other games too closely.  There was a variety of different armies on display. There were two Outlaw Gangs and one each of Human Cultists, Alien Imperials, Human Imperial Strike Force, Hive Mind, Cyborg Enslavers and Victorian Imperial (full descriptions are in the ASQL rulebook).

Here are the five tables;


None of these would give any particular advantage to any single army but in some cases the terrain would prove to be a major factor in deciding the outcome of the battles fought.

I took quite a few pictures, and I'll try and let them tell the story where possible.

These Cyborg Enslavers look remarkably familiar. Good thing there won't be many staris to climb!


Victorial Imperials, resplendent in the uniforms of a long-lost Golden Age of Empire.


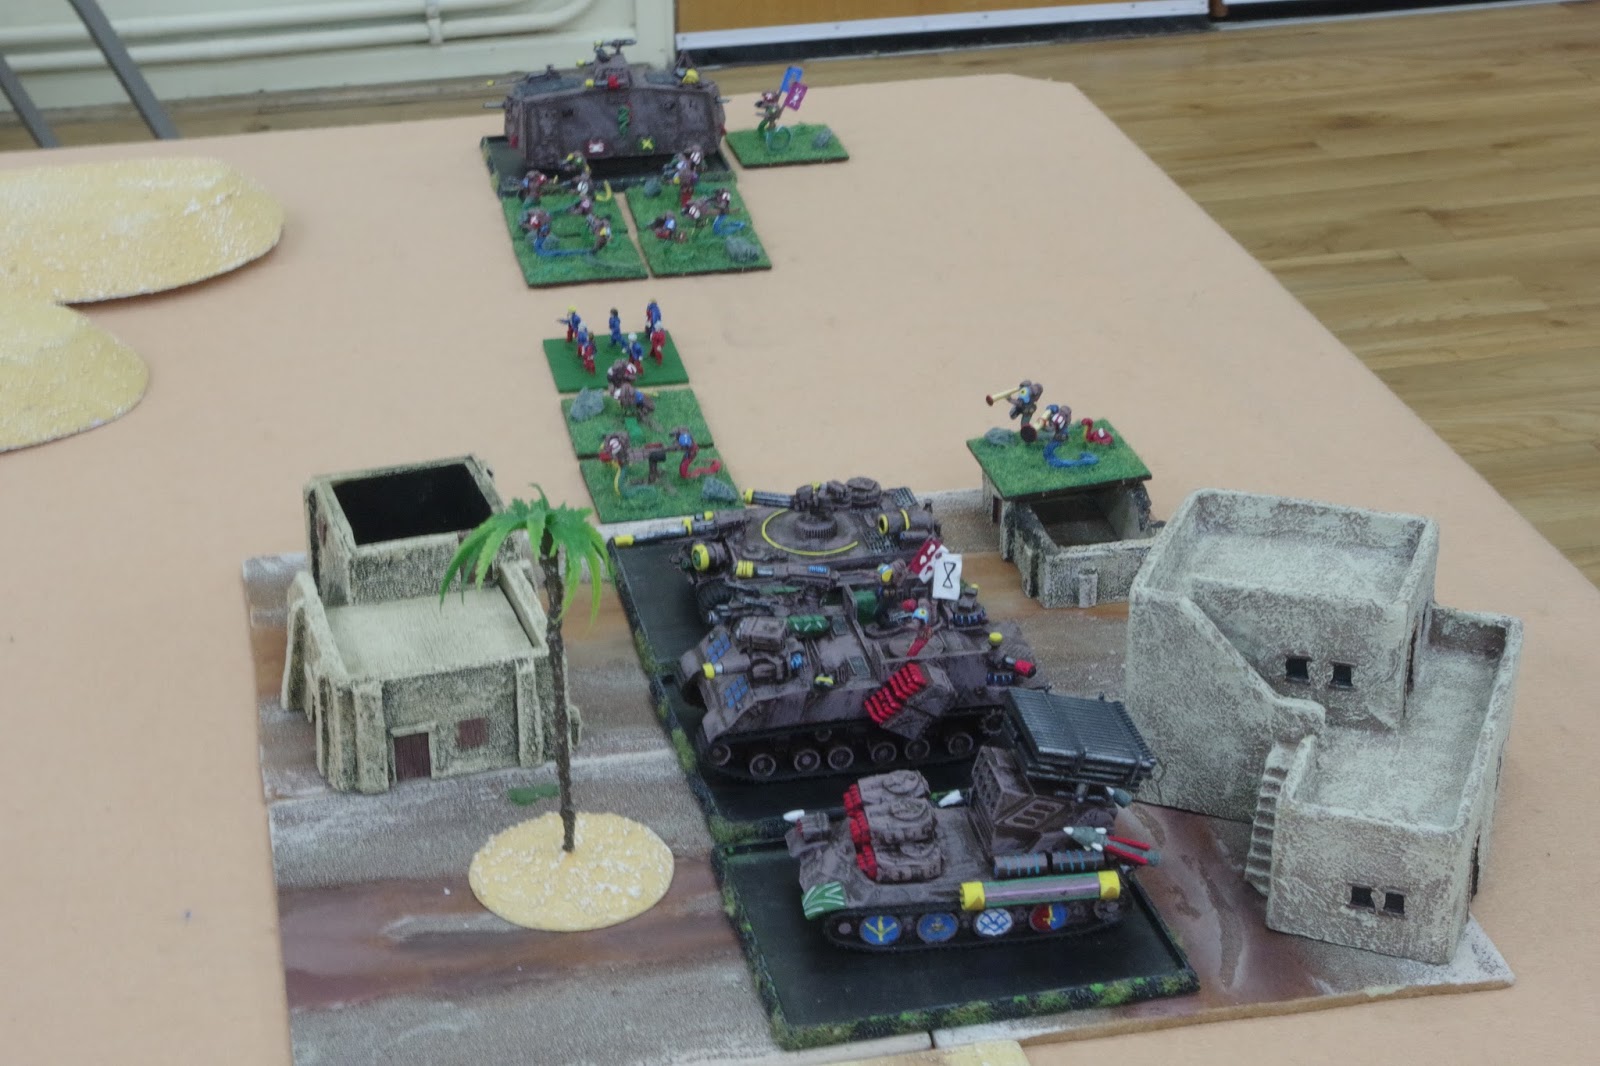
The first of the Outlaw gangs, all equipped with various sorts of vehicles.


The Human Cultists, a.k.a. House Slytherine.


Alien Imperials. These were mine, a blend of high tech and scary monsters (no super creeps, though)


These are the Human Imperial Strike Force, a small but tough army.


Part of the other Outlaw Gang, vehicles with heavy weapons and lots of gangers.


The rather worrying bugs of the Hive Mind.


A special mention for this terrific scratch-built Outlaw Gang heavy weapons truck.


Now a fairly random selection of battle shots.

Victorians vs Hive Mind


Cyborg Enslavers on the "march".


 Victorians vs Hive Mind


Alien Imperials vs Outlaws


Alien Imperials vs the other Outlaws


Alien Imperials vs Hive Mind


Human Strike Force (not sure who they are fighting)


Extermination guaranteed.


Outlaws striking a pose.


Victorians line up against those damned unsporting Outlaws.


 Hive Bugs skittering into the attack.


Outlaws again.


And finally, my Alien Imperials in action against the Hive Mind. I actually won this game by a large margin, mainly by staying in the built-up areas, to neutralise the Hive Flyers, and blasted anything in sight. My Trained Beasts also did good work in hand-to-hand combat.


So, how did it all play out? Well, I fought both Outlaw gangs, drawing in an inconclusive opener against Alex S and losing badly against Clive. He knew that he had to stay out of range. I decided to stay in a built-up area, nothing happened, so I tried to tempt him out into the open. He  shot up my Primitives and stayed out of range of my Heavy Droids. I decided to go for broke, attacked and took a lot of hits, suffering a heavy defeat. However, a good win against Owen's Bugs ensured mid-table anonymity for my army.

The big surprise was how well the two lots of Outlaws actually did. Clearly tougher on the table  than they appear on the page.

The final standings were;