Showing posts with label cavalry. Show all posts

Thursday, 24 April 2025

Three mounted figures from Bloody Miniatures

I painted these a while ago but forgot to do a post. They have even featured in a game or two. First, a trumpeter.

Next, a standard bearer;

And finally, a commander;

As the title says, these are all from Bloody Miniatures and they are excellent sculpts and really nice clean casts too.

The standard needs improvement, it is just a simple thing but needs to be replaced with something better. I haven't found anything I like yet, though.

They featured as my brigade's command in a game of Never Mind The Matchlocks recently, leading three battalia of pike and shot.
 

Saturday, 17 October 2020

Hopefully, the end of wargaming painter's block

 Well, I finally finished off the last of my Roman auxiliary cavalry. There are seven figures in total.

Two groups of equites.


And to lead them, a second decurio.


To distinguish these riders from the other two groups, who have red or blue neckerchiefs, I have given these green ones. I have also used one of the heads on the sprue which is supposed to be for praetorian cavalry for the decurio, and why shouldn't I? I am sure that there was plenty of variation amongst the different cohorts and we know that there wasn't really as much standardisation as Hollywood, and many wargamers too, would have us believe.

Once again, these are all Victrix plastics, on Warbases oval bases and movement trays and the excellent tufts are from Gamer's Grass, which is stocked by Bad Squiddo Games.

I still have a few auxilia bodies left, and I'll probably use some to make up another deployment/ambush point, but I really need a break from Romans for the moment. I might do some recreational 15mm figures for a change. I have some 18th century impact cavalry to do for Syldavia and Borduria, or I might finally start doing something about my essentially pointless Volkssturm project for Germany in  late 1944 and 1945. At best, they will be a minor irritation to any British, American or, more likely Soviet opponents.


Sunday, 3 June 2018

Hyborian cavalry reinforcements

I think (hope?) that I've finally finished my 15mm Hyborian Barbarian horde for Sword and Spear Fantasy games. The final additions are the rest of the cavalry. Here they are en masse, charging against some hapless enemy foot.


The front unit is one of Cavalry, as defined in the S&SF rules. They are a single unit, sized 8 cm x 3 cm. They will join my existing two units of Cavalry. They are supported by two units of Light Horse.


The next two units are the Light Horse, based on 4 cm square bases to give them a looser formation. Each unit is therefore 8 cm x 4 cm.


Obviously, they are all just the same excellent Copplestone figures, so the only way to distinguish between them is the base sizes.

I think that the last thing I need to do is photograph the entire horde, which should look pretty impressive.

Then, all that is left is to actually get them onto the table for a few games.

Wednesday, 30 May 2018

Late Roman unarmoured cavalry

Having completed the heavy cavalry, I went back and finished off the Late Roman light cavalry that I'd started a while ago. These are based on the Gripping Beast "Dark Age Cavalry" plastic box set, with a few head swaps to make them look a bit more Roman. Also, the majority have been given oval shields and all of them have Roman-style designs (from LBMS) on them.


The main thing that I wanted to do here was create some degree of standardisation in how the unit looks, but also keep some variation in their dress. I've discussed the lack of an absolute uniform appearance in Late Roman troops in a previous post, so I used a similar approach to the one I used on the infantry figures, i.e.using a range of fairly muted colours that suggest natural undyed wool or linen. However, I wanted to tie the troops together so I painted "Roman style" embellishments on the tunics in a mixture of red or light blue tunic edging and other designs such as the roundels and shoulder panels seen on Late Roman tunics.

I decided to use a standard red shield design with a yellow Chi Rho for eight of the riders, plus four riders with different shield designs. I did this so that I have a degree of flexibility in how I combine my various cavalry figures for tabletop deployment.

My main idea about these guys is that they can easily represent post-Roman British cavalry or also Germanic auxiliaries in the Roman army, such as those used in both the Eastern and Western halves of the empire from the late third century onwards.

Anyway, here are some more views of the latest recruits to my growing Late Roman army.


These last four figures, who I think of as the unit's "characters", really suggest post-Roman Britons to me. 

Friday, 25 May 2018

Late Roman armoured cavalry

I bought a box of the new Gripping Beast Late Roman armoured cavalry as soon as they were available. I was already working on a box of the Dark Ages cavalry to use as Roman light cavalry, but what I really wanted was some armoured riders to boost my Saga Late Roman warband, use as Romano-British "Arthurians" and also to enable me to field a warband as Last Romans as described in the Age of Vikings book for Saga 2. These guys would work as part of a warband from the 6th or 7th century, i.e. the period between Justinian the Great and Heraclius, but don't look right as troops from one of the Tagmata or Thematic units that made up later Roman armies from the 8th-10th centuries.

Anyway, although I'd started the light cavalry, these armoured riders jumped the queue and have been finished first. Here is the complete unit of 12 cavalrymen. Note that there is one rider with a different shield design (n.b. all the shield designs are LBMS transfers). More on him later.


There are six figures armed with spears;


And five with swords;


Now, here is the chap with the different shield design;


Notice that I've put him on a larger round base. This enables me to field him as the leader of my warband, as well as including him as just another member of a unit. Here he is from his open side;


I have to admit that when I was painting these I had a real crisis of confidence over how they would turn out, partly because I really do not like painting horses at all, but also because I was finding it hard to visualise how they would look once they were inked. This was because I wasn't sure that I'd picked the right colour scheme for them. However, I think that they have turned out fine.

Regarding the actual models, I am quite impressed with them. There are plenty of head variants, allowing you to create figures that are not all identical, plus the usual different weapons options. There is also a vexilla included, which I didn't use, but which would work fine, with a bit of cutting and glueing of one of the spear arms in the box. I did find, though, that once I'd assembled and undercoated the horses that the body halves hadn't gone together perfectly and needed a bit of Milliput to fill the rather visible gaps in the alignment. I expect that this was down to my assembly rather than any actual defects in the mouldings themselves. Anyway, I've already bought another box to paint up so that I have extra armoured cavalry for my Late Roman Sword and Spear army.

Monday, 23 October 2017

Another Sharp Practice American Civil War AAR

I played another game of Sharp Practice yesterday at the club against Richard, who hadn't played the game previously. He said later that he'd found the activation via card mechanism a bit odd at first, being used to I Go, You Go games generally, but once it had sunk in he enjoyed the game.
            
All the troops are from my Peter Pig 15mm ACW armies, and the resin buildings, animals and civilians are also Peter Pig. The fences are by 4Ground. The rest of the scenery belongs to the club.

Scenario

This was an mid-war scenario where both sides were made up of regulars. All infantry were equipped with rifled muskets. The Union cavalry had breech-loading carbines and the Confederate cavalry had Mixed Weapons (half rifled muskets and half close range firearms).

The Union forces (Me), led by Captain Bradley Stoke, have been sent forwards to test the Confederate defences and also to forage for food. Led by cavalry, they have found a hamlet where there are supplies (represented here by four stands of pigs and sheep). The mission is to make off with supplies but also to cause casualties to any Confederate forces they come across.

The Confederate forces (Richard), commanded by Lieutenant Nahum G. Pierce are charged with protecting the hamlet, but initially are unsure of the direction of approach of the Union troops.

 
Union troops

2 groups of 8 cavalry (dragoons) with with a Status 2 Leader, Lt Travis Perkins
4 groups of 8 infantry (regulars) with a Status 3 Leader (Capt. Bradley Stoke) and a Status 1 Leader (2nd Lt Richard Cunningham)
1 group of 6 skirmishers (Berdan's Sharpshooters) with a Status 1 Leader, Sgt. Henry Gibson)

Additional: Water Cart, Musician (bugler) , Physic and Status 1 Leader (Cpl Lyle Tate)


Confederate troops

1 group of 8 cavalry (dragoons) with with a Status 1 Leader (Lt. Byron Beausoleil)
4 groups of 8 infantry (regulars) with a Status 3 Leader (Lt Nahum G. Pierce)
2 groups of 6 skirmishers (One being Louisiana Tigers) each with a Status 1 Leader (Cpl Cooter Davenport, Sgt Randolph Cartwright)

Additional: Status 1 Leader (Sgt. Cecil Green), Musician (bugler), Colour Party and Mule Train

 Here is the table before any troops emerged.


The Union troops would deploy from the far end of the table, with the Confederates moving on from the closest end. The first troops to appear were the Rebel cavalry and the Louisiana Tigers skirmishers, who were rated as Good Shots. groups of sheep and pigs were placed in pens, to be the target of the Union troops and there were a number of non-combatants in the hamlet.


The Union infantry began to deploy and move forwards but the cavalry were delayed for some reason for three rounds of play. This would be a cause of concern. I had hoped to use the cavalry to secure an advanced position early on to prevent the Confederate infantry from moving at will.


The Rebel cavalry embarked on a long flanking movement on the left flank as more Rebel skirmishers appeared, led by Cpl Davenport.


The Union troops began to advance, with the main body of infantry in the centre, supported by Berdan's Sharpshooters. One group of infantry were given the task of defending a line of fences against the threat from the Rebel riders.


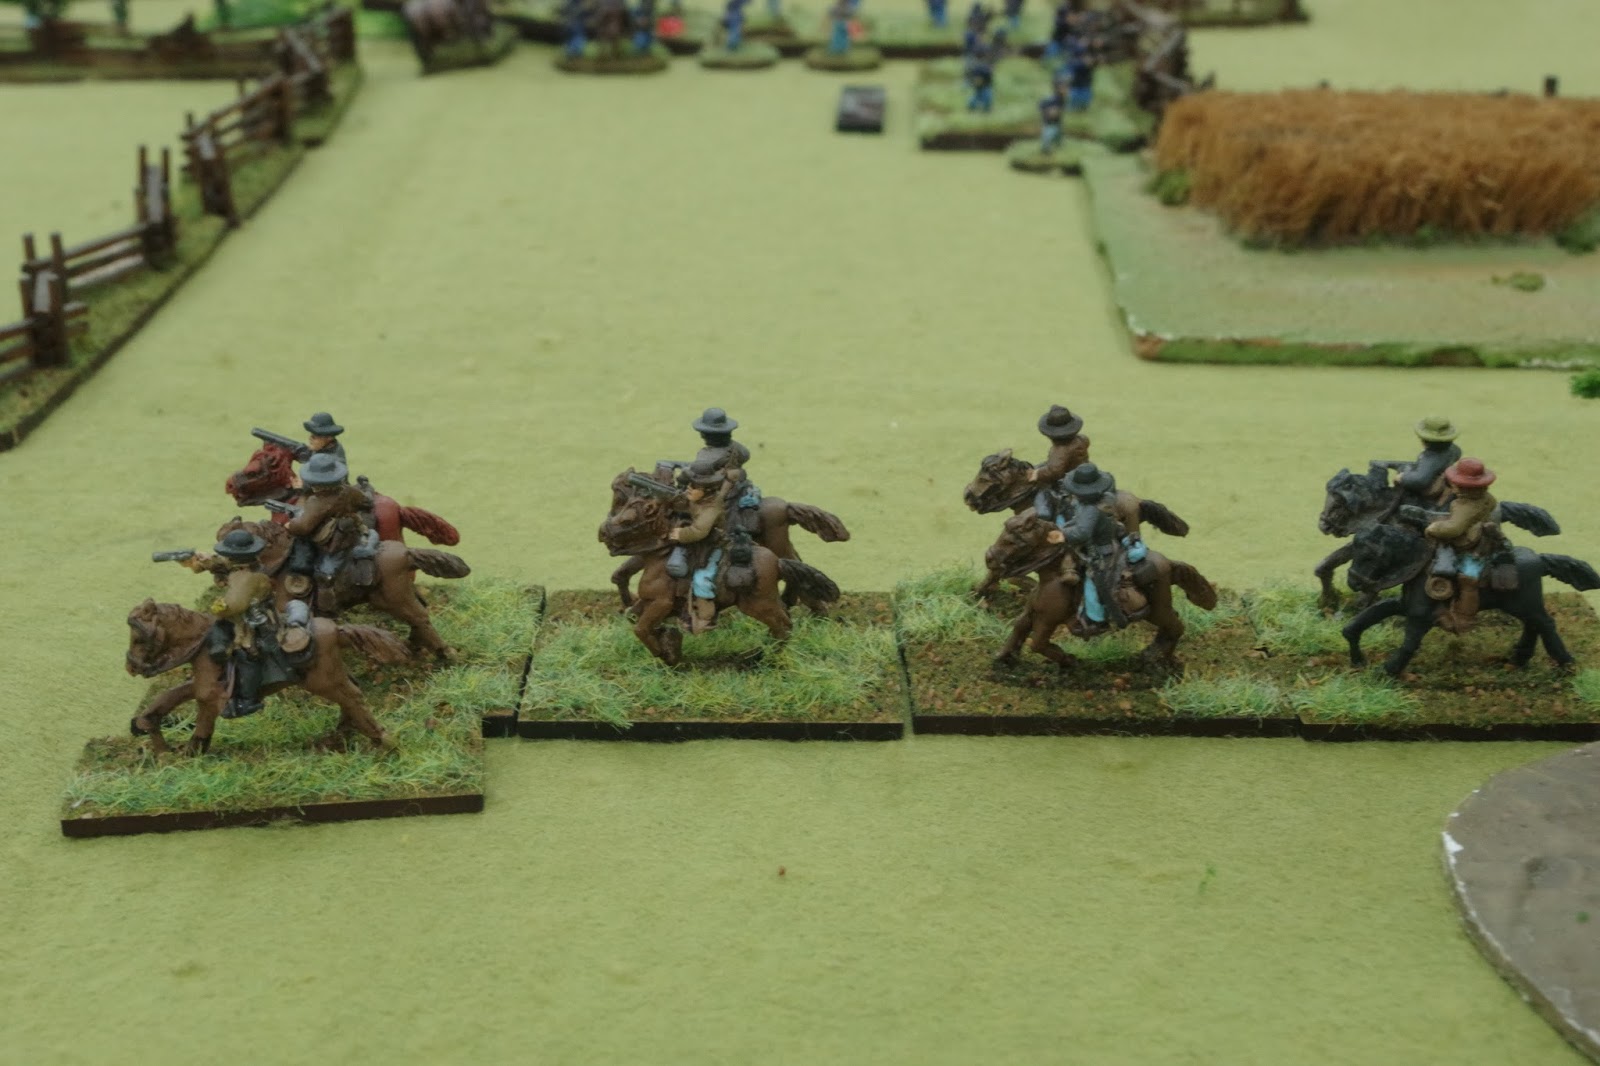
Finally Lt Travis Perkins arrived with his two groups of carbine-equipped cavalry, swinging round to attack the Confederate right flank.


Unfortunately, at this point the Union troops were crippled by inertia for two turns, with no Blue Leader cards being dealt. This would prove to be a fatal problem for the infantry in the centre, while the Confederate cavalry continued their flanking movement.


The main body of Rebel infantry soon deployed along the perimeter fences of the hamlet, pouring volleys of fire into the hapless immobile bluecoats.

Union casualties mounted, as did their level of shock. The musketry of the Louisiana Tigers was especially damaging. The advance stalled.


The Confederate cavalry stayed clear of the fighting and attempted to get behind the Union troops. In the end, though, they would be seen off by Union musketry, accumulating a lot of shock in the process, leaving them unable to mount a convincing threat to the Union Troops.
 

Things looked a bit brighter on the Union left, as the cavalry pushed up before dismounting in the wooded ground, from where they could deploy their carbines too good effect.
    

Things were definitely grim in the killing ground in the Union centre. No ground was made at all and before long the infantry were forced to withdraw. Force Morale suffered. The Berdan's Sharpshooters were able to fire back, and had some success against the Louisiana Tigers who had advanced into the broken ground outside the village.
     

The Confederate skirmishers in the woods were driven off by accurate short range fire from a group of Union infantrymen.
    

The Union troops advanced, causing casualties and forcing the Confederate infantry in the village to redeploy to meet the threat. To the front of the village, a huge cloud of black powder smoke hung over the field, obscuring the view for both sides.
    

This fire-fight took up the last few rounds of combat before it became apparent that the Union troops were never going to be in a position to make off with any livestock, having suffered more casualties than the Rebels and with their troops taking a lot more shock. Therefore, the only prudent course was for Capt. Stoke to order his bugler to sound the recall.

So, in the end, a first Sharp Practice victory for Rich and his Confederates.

Monday, 19 June 2017

A HOTT afternoon at the club

Yesterday was hot in more than one way. The temperature was up around the 30C mark and the major thing at the club was a series of games of HOTT (Hordes Of The Things).

This was a chance for me to roll out my Averland-inspired army against some actual opponents. "How did things turn out?" you ask. "Not very well!" I reply.

I played four games, two against Nick's Orcs and two against John's Dwarves and Elvish chaps. In every case, I lost. Now, that could be down to inexperience, but bad dice rolls and impetuosity both played a part too. In the first game, I defended on a table that really didn't offer me much help. Neither did a truly bad initial deployment, which pretty much left my Knights in an endless series of rounds of combat with Nick's Orc Knights.


It didn't help much that I soon lost my Behemoth (the Da Vinci turtle tank), for no gains.


Eventually, I lost because I had taken too many casualties.

In the second game, I defended again, and once more deployed my forces in a formation that pretty much isolated my Knights. This time, though, I deployed Riders on the right flank and these at least had a useful role to play.


I lost my left flank Shooters and Blades early on and this really didn't help me at all, even though my Spears managed to push back Nick's scorpion Behemoth.
 
The real problem was that I'd got my general into a bad position defeating Nick's Knights, which led inevitably to his demise, and my defeat.


My next two games were against John's Elf/Dwarf alliance. Both times I tried to ensure that my deployment was more coherent and I decided to occupy the hills on my half of the table. John deployed in a solid line.


My Knights advanced along the road.


At this point, things seemed OK. I didn't expect that his Flyers, including an Aerial Hero would be such a problem. I soon lost one unit of Knights to John's Hero General, which showed up the flaw in my plans.


My Spears saw off an attack by Flyers


But the Aerial Hero (identified by the red counter) caused a realignment of my line.

With my Blades standing firm, the Shooters rejoined the battle line.


The Hero Flyer refused combat and left my Blades exposed as John's line advanced.


I threw caution to the winds and charged. Bad mistake. Although I won combats, all I was doing was forcing his troops to recoil. I couldn't destroy any troops. Eventually, I lost my remaining Knights, inevitably followed by my Hero General.


Game over.

We managed to squeeze in a final battle. We both deployed Magicians, and I brought in some Riders, dropping my Spears.


John was defending, and I was pretty much forced to advance, because he just sat still in front of his Stronghold.


My Riders managed to tie up his right flank for a long time, including his Magician.


I advanced and got into combat. This is where it all went wrong. I felt sure that I had an advantage but my dice rolls were truly appalling and my line got twisted out of shape and I was destroyed piecemeal. Happily, there are no pictures of this shameful collapse by the army of Averland.

So, I reckon that I have a lot to learn about how to win at HOTT.