Showing posts with label German infantry Zug. Show all posts

Saturday, 11 April 2020

Chain of Command - a lockdown AAR

Last weekend I persuaded my partner to play What A Tanker! After the game, I persuaded my helpless hostage to play Chain of Command on the same table, treating the WaT! game as a precursor to the main action.

The scenario was that the British would attack and the Germans defend. The British had 7 points of support and the Germans had three. The barbed wire and minefield from the previous game remained in place, together with a couple of brewed-up British tanks.

I was the German player and my partner the British one. British Force Morale was 9 and German was 8. As supports, the British took a Carrier Section with a JL and a pre-game barrage and the Germans took a green infantry section. I decided that these were Osttruppen, Russian POWs who had been conscripted into the German army to serve in Normandy.

The pre-game barrage was a constant thorn in my side as I was repeatedly unable to deploy anything. Meanwhile, the British advanced quickly on my left flank.


Soon, they were closing down and capturing one of my JoPs,


Once I started getting tiny boots on the table, I moved to capture the ruined buildings to close down my right flank from another sweeping flank attack.


This was fine, but it meant that the British had pretty much free rein in the centre and on my left.


Smoke from the 2" mortar kept my troops from targeting the British too often.


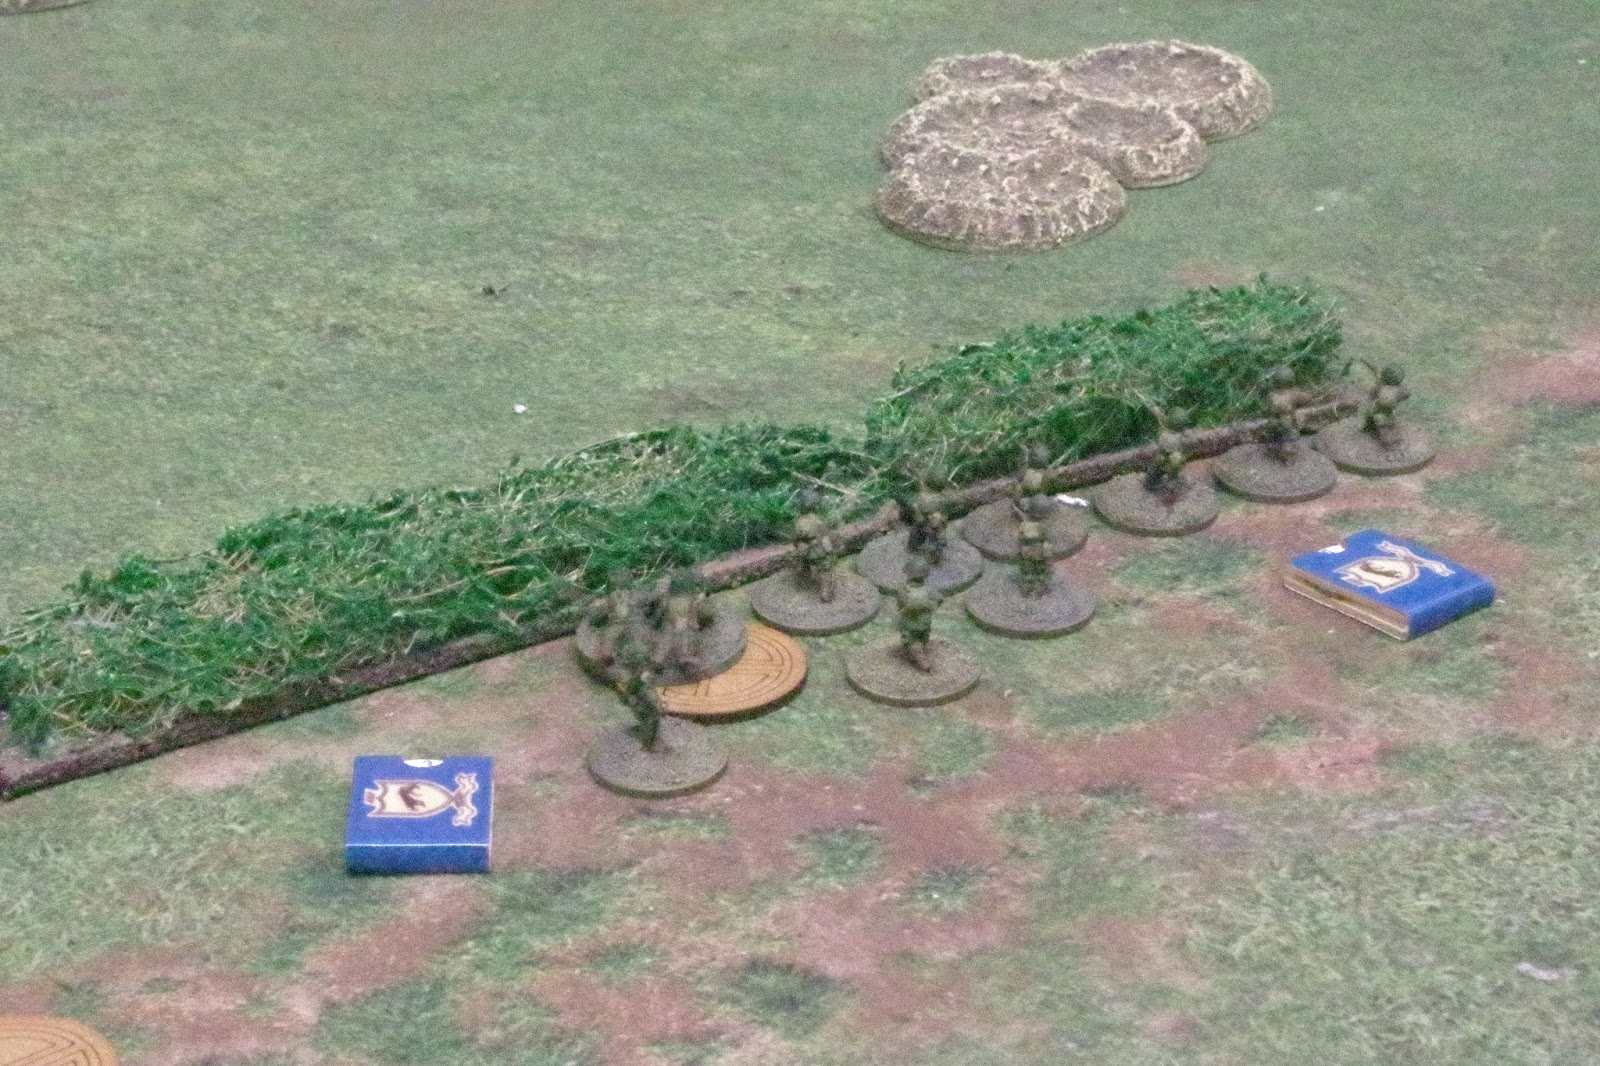
Having secured a foothold in the village at the church end, I was being threatened on both flanks. Losing the JoP had dented my FM, but worse, it had restricted my deployment options. I had the green section of Osttruppen in the walled vegetable garden, basically being no use at all. However, the recce section and one rifle section got past the white house and set up a firing position behind a line of bocage. A firefight with German troops behind a wall at the eastern end of the village ensued, with both sides firing across the minefield and taking casualties.


I ended a turn using a CoC dice, meaning that the smoke lifted and allowing me to target a British section trying to cross the open ground in the centre.


Getting two phases gave me the chance to fire at them in successive turns. They were hit very hard, but the platoon leader Lt. Binkie Huckabuck survived.


As the sun began to set, the British on my right began to advance behind smoke to occupy the buildings that I had pulled back from.


The Osttruppen finally started to get involved, firing at the British recce troops and a rifle section stick behind a length of bocage.


Elsewhere, the British were closing in on the ruined buildings. My infantry were pinned back in the eastern end of the village.


Although both sides were losing troops fairly frequently, German morale was down to 5 and my grip on the village was slipping. We decided that the British had partially achieved their objective, which was to push the Germans out of the village and secure the road. Bearing in mind that it would probably be easier for the British to reinforce their position, the Germans decided to slip away as the sun slowly set in the west.

Although N had never played CoC before, she made her own decisions based upon the options I gave her. The chance to get carriers and troops across the table at the western end of the village was hers, and it turned out to be decisive, seeing as she captured one of my JoPs before I even had any troops on the table. That pre-game barrage was a real curse for me. In hindsight, I should have taken the hit and ended the Turn to end the barrage and accept the loss of the JoP long before it was forced on me by N rolling three sixes and ending the Turn.

Wednesday, 2 October 2019

Nijmegen weekend - Big CoC at BIG

Last weekend, it was time to go down to Bristol Independent Gaming for two days of 15mm Chain of Command to play out a number of scenarios in and around Nijmegen during Operation Market Garden in 1944.

Day One

The weekend was excellently organised by Jimmy, who set up three interesting tables for the first day. The first represents the Hunnerpark, with the bridge over the Waal off at the top left. SS Panzergrenadiers would be defending the approaches to the bridge along the left of the table, with 82dd Airborne coming from the right Both sides had limited armour support.


The second table represents the approaches to the railway bridge. This would be an all-armour affair, with Guards Armoured coming up against Jagdpanzer IVs.


Finally, the road north of Nijmegen with 82nd Airborne attacking from the top, with the road defended by an ad hoc Heer Zug, made up of rear echelon troops.


The fighting was fierce on all three tables, with the Allies coming out victorious in the latter two encounters, but being forced to withdraw from the fight in the Hunnerpark dues to heavy losses. In early random event caused this house to the south of the park to catch fire. This was a mixed blessing for both sides, but overall it favoured the defenders.


The Panzergrenadiers had a huge superiority in firepower, with two MG42s per section, and these really swung the result.


This PaK 40 was a threat to the 82nd.


This single Guards Armoured Sherman was a problem for a long time, but was finally knocked out by the Jagdpanzer.


Even though the 82nd were able to use the smoke to try and outflank the defenders, their numbers were too few to take the bridge without armour so the US commander decided to pull out.


The fight in the marshalling yards was a real cat-and-mouse affair, with the Allies finally gaining the upper hand, knocking out all three Jagdpanzers for the loss of one Sherman.


On the final table, the 82nd managed to push out the Heer Zug defending the road.


This final table was in the balance for a long while, but the superior abilities of the 82nd won the day in the end.

Day Two

The second day was a single huge game of Big CoC, i.e. Chain of Command with multiple players on each side. The rules can be found here, on the TooFatLardies blog. Of course, you'll still need the main rules to play this amendment.

The scenario was set in Lent, a suburb of Nijmegen north of the road bridge over the Waal. The premise was a German counter-attack from the direction of Elst, north of Nigmegen to try and recapture the Waal bridge, which even though the south end was still in German hands after Day One, the defenders had been forced to withdraw due to the Allies taking the northern end of the bridge and bringing armour up over the rail bridge.

Here is the view from the German end, looking south. the low-lying land either side of the road was boggy, meaning that armour risked bogging-down if it chose to drive across it at anything other than slow speed. The Germans needed to get infantry across the open ground to try and hold the crossroads in the centre of the village.


A good patrol phase saw the Germans get jump-off points (marked by SdKfz 251 half-tracks) in the woods to the right and also up on the edge of the table on the left.


The final German JoP was close to the road at the German end of the table.


The Germans received a lot of support points, giving the Panzergrenadiers an additional section and the Heer Zug two extra sections. They also got two PaK 40 guns and an additional Senior Leader.


Before long, the Heer Zug was in action close to the hedges, threatening one of the Allied JoPs.


The Panzergrenadiers and guns on the right stayed on Overwatch, awaiting developments ahead. The Armour, in the shape of four Jagdpanzer IVs was held in reserve off-table.


A Panzerschreck team was sent towards Lent, to try and get close to the action, but also to see if the Germans could advance a JoP. Unfortunately, it was targeted by mortar fire and killed.


The Panzergrenadiers once again used their MG42s to great effect, pinning on section of the 82nd and causing shock to another.


 On the left, the Heer Zug moved through the woods, while the section by the hedge survived a bout of hand-to-hand combat, wiping out thie opponents, and threatening an Allied JoP.


Meanwhile, the Allies in Lent were getting troops into the houses. The village was looking like a tough nut to crack, especially with the arrival of the Guards' tanks.


As the Heer Zug made ground through the woods, the detached section captured the JoP. Events were pushing Allied Morale down, but their position was too strong to take by a frontal assault. The tank Troop Firefly had a view all along the road, making it risky to bring on German vehicles.


The 82nd troops were forced out of the upper stories of the buildings, meaning that the flat ground outside the village was now dead ground.


Heavy accurate MG42 fire was causing the 82nd a lot of casualties, but what was needed was some aggressive movement. The Heer Zug was taking a lot of fire too, so the SS Panzergrenadiers began to advance through the dead ground where the Allies couldn't see them.


Finally, the Jagdpanzers began to slowly attack. This paid off handsomely, when the lead Jagdpanzer knocked out the Firefly after a short exchange of fire.


The German infantry finally got to the hedge, but were immediately fired upon from the buildings.


The Panzergrenadiers also captured another Allied JoP, causing another drop in Force Morale.


Another Sherman was brewed-up by a Panzerfaust shot. The Allies were now down to a single tank.


That last Sherman took out the leading Jagdpanzer.


The Germans managed to get infantry inside the village, but fresh 82nd sections appeared, inflicting many casualties. Although the Allied Force Morale was getting low, and they had lost a couple of Command Dice, it was difficult to see how the Germans might get them out of the buildings without taking a lot of casualties.


As we were out of time, Jimmy, who was umpiring called time. All the players agreed that although it was a minor German win, overall, the counter-attack had failed in the aim of getting the Allies out of Lent and taking back control of the crossroads.

So, all in all, an excellent weekend of gaming. Thanks to Jimmy for organising the proceedings and to Dave, Dee, Andy, Ed and John for being such good allies and opponents.