Showing posts with label panzer grenadiers. Show all posts

Wednesday, 2 October 2019

Nijmegen weekend - Big CoC at BIG

Last weekend, it was time to go down to Bristol Independent Gaming for two days of 15mm Chain of Command to play out a number of scenarios in and around Nijmegen during Operation Market Garden in 1944.

Day One

The weekend was excellently organised by Jimmy, who set up three interesting tables for the first day. The first represents the Hunnerpark, with the bridge over the Waal off at the top left. SS Panzergrenadiers would be defending the approaches to the bridge along the left of the table, with 82dd Airborne coming from the right Both sides had limited armour support.


The second table represents the approaches to the railway bridge. This would be an all-armour affair, with Guards Armoured coming up against Jagdpanzer IVs.


Finally, the road north of Nijmegen with 82nd Airborne attacking from the top, with the road defended by an ad hoc Heer Zug, made up of rear echelon troops.


The fighting was fierce on all three tables, with the Allies coming out victorious in the latter two encounters, but being forced to withdraw from the fight in the Hunnerpark dues to heavy losses. In early random event caused this house to the south of the park to catch fire. This was a mixed blessing for both sides, but overall it favoured the defenders.


The Panzergrenadiers had a huge superiority in firepower, with two MG42s per section, and these really swung the result.


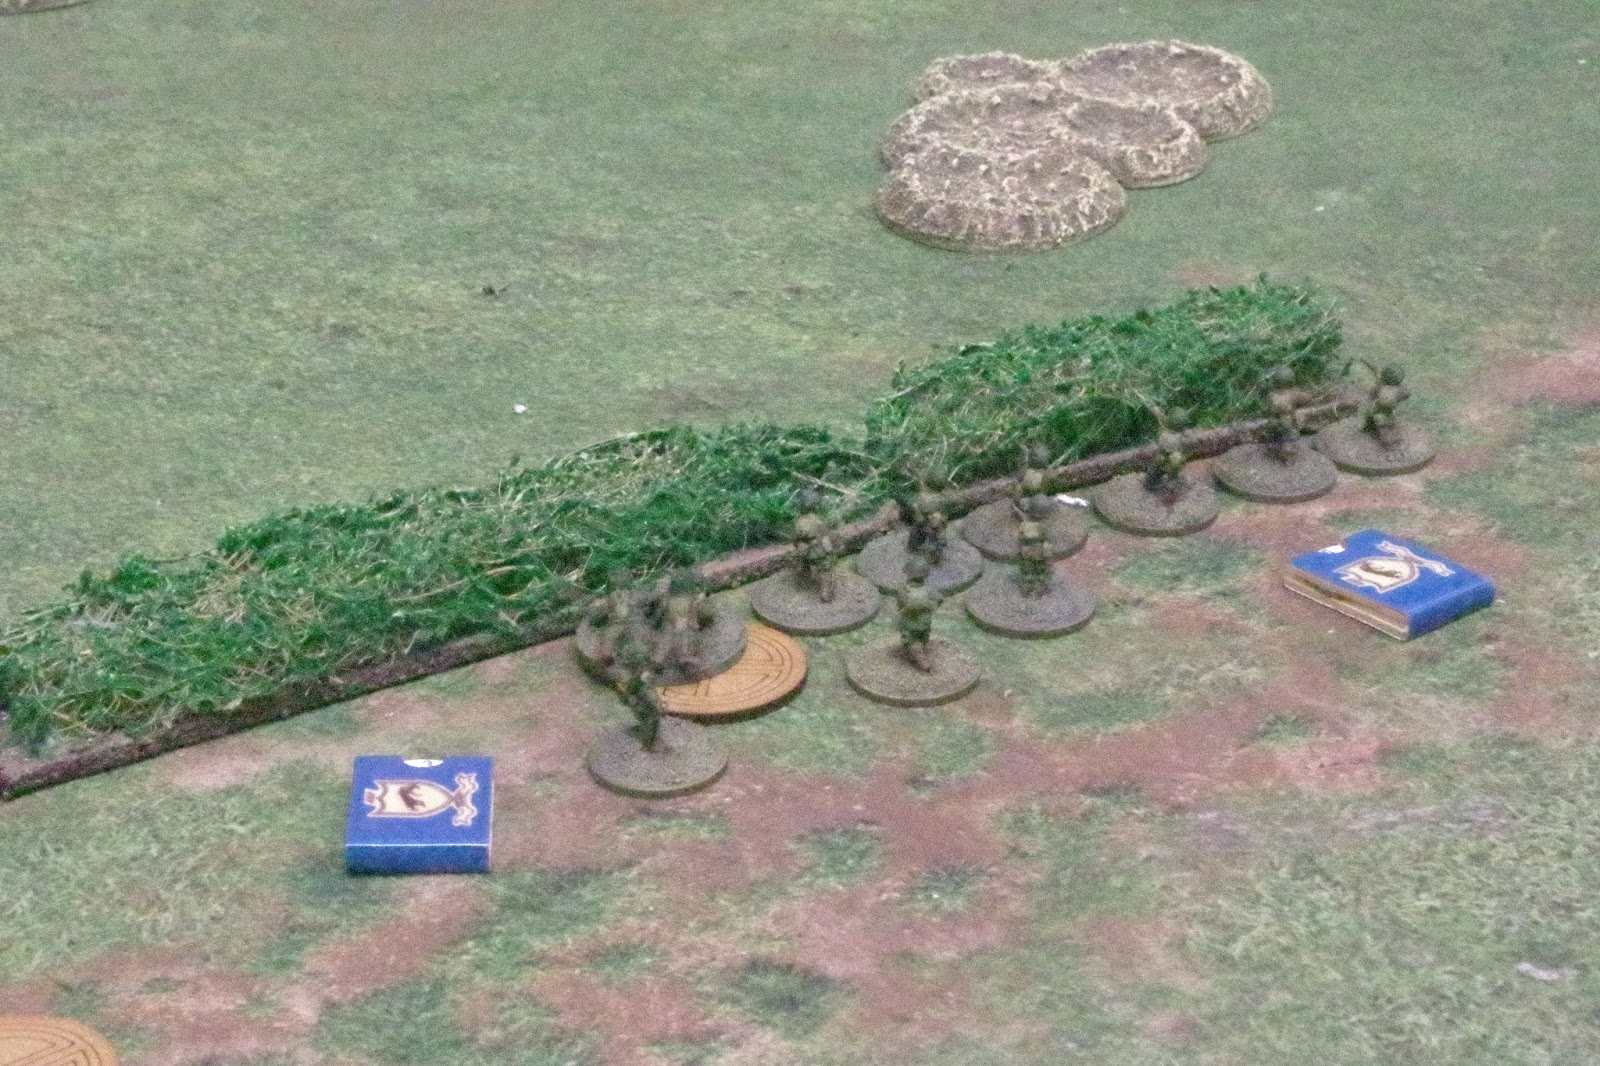
This PaK 40 was a threat to the 82nd.


This single Guards Armoured Sherman was a problem for a long time, but was finally knocked out by the Jagdpanzer.


Even though the 82nd were able to use the smoke to try and outflank the defenders, their numbers were too few to take the bridge without armour so the US commander decided to pull out.


The fight in the marshalling yards was a real cat-and-mouse affair, with the Allies finally gaining the upper hand, knocking out all three Jagdpanzers for the loss of one Sherman.


On the final table, the 82nd managed to push out the Heer Zug defending the road.


This final table was in the balance for a long while, but the superior abilities of the 82nd won the day in the end.

Day Two

The second day was a single huge game of Big CoC, i.e. Chain of Command with multiple players on each side. The rules can be found here, on the TooFatLardies blog. Of course, you'll still need the main rules to play this amendment.

The scenario was set in Lent, a suburb of Nijmegen north of the road bridge over the Waal. The premise was a German counter-attack from the direction of Elst, north of Nigmegen to try and recapture the Waal bridge, which even though the south end was still in German hands after Day One, the defenders had been forced to withdraw due to the Allies taking the northern end of the bridge and bringing armour up over the rail bridge.

Here is the view from the German end, looking south. the low-lying land either side of the road was boggy, meaning that armour risked bogging-down if it chose to drive across it at anything other than slow speed. The Germans needed to get infantry across the open ground to try and hold the crossroads in the centre of the village.


A good patrol phase saw the Germans get jump-off points (marked by SdKfz 251 half-tracks) in the woods to the right and also up on the edge of the table on the left.


The final German JoP was close to the road at the German end of the table.


The Germans received a lot of support points, giving the Panzergrenadiers an additional section and the Heer Zug two extra sections. They also got two PaK 40 guns and an additional Senior Leader.


Before long, the Heer Zug was in action close to the hedges, threatening one of the Allied JoPs.


The Panzergrenadiers and guns on the right stayed on Overwatch, awaiting developments ahead. The Armour, in the shape of four Jagdpanzer IVs was held in reserve off-table.


A Panzerschreck team was sent towards Lent, to try and get close to the action, but also to see if the Germans could advance a JoP. Unfortunately, it was targeted by mortar fire and killed.


The Panzergrenadiers once again used their MG42s to great effect, pinning on section of the 82nd and causing shock to another.


 On the left, the Heer Zug moved through the woods, while the section by the hedge survived a bout of hand-to-hand combat, wiping out thie opponents, and threatening an Allied JoP.


Meanwhile, the Allies in Lent were getting troops into the houses. The village was looking like a tough nut to crack, especially with the arrival of the Guards' tanks.


As the Heer Zug made ground through the woods, the detached section captured the JoP. Events were pushing Allied Morale down, but their position was too strong to take by a frontal assault. The tank Troop Firefly had a view all along the road, making it risky to bring on German vehicles.


The 82nd troops were forced out of the upper stories of the buildings, meaning that the flat ground outside the village was now dead ground.


Heavy accurate MG42 fire was causing the 82nd a lot of casualties, but what was needed was some aggressive movement. The Heer Zug was taking a lot of fire too, so the SS Panzergrenadiers began to advance through the dead ground where the Allies couldn't see them.


Finally, the Jagdpanzers began to slowly attack. This paid off handsomely, when the lead Jagdpanzer knocked out the Firefly after a short exchange of fire.


The German infantry finally got to the hedge, but were immediately fired upon from the buildings.


The Panzergrenadiers also captured another Allied JoP, causing another drop in Force Morale.


Another Sherman was brewed-up by a Panzerfaust shot. The Allies were now down to a single tank.


That last Sherman took out the leading Jagdpanzer.


The Germans managed to get infantry inside the village, but fresh 82nd sections appeared, inflicting many casualties. Although the Allied Force Morale was getting low, and they had lost a couple of Command Dice, it was difficult to see how the Germans might get them out of the buildings without taking a lot of casualties.


As we were out of time, Jimmy, who was umpiring called time. All the players agreed that although it was a minor German win, overall, the counter-attack had failed in the aim of getting the Allies out of Lent and taking back control of the crossroads.

So, all in all, an excellent weekend of gaming. Thanks to Jimmy for organising the proceedings and to Dave, Dee, Andy, Ed and John for being such good allies and opponents.

Monday, 8 January 2018

Post Christmas big IABSM AAR

The club normally meets on Sunday afternoons, but over the Festive Season, we didn't meet up on either Christmas Eve or New Year's Eve. However, we did have a Thursday afternoon session on the 28th. I offered to put on and umpire a big game of I Ain't Been Shot Mum for two players a side. This would be a 1944 game, with the British forces pushing forwards into the Low Countries after the Liberation of France as part of the advance towards the Rhine.

What I wanted to do was put on a game with a lot of tanks but also have plenty of obstacles to aid the weaker side (in this case weak was relative). The field was laid out on four tables, creating a long battlefield with plenty of cover and dead ground. Here it is, seen from behind the German position.


The scenario was as follows;
After the end of the Battle of Normandy, Allied forces are pushing eastwards into the Low Countries. German resistance is stronger than expected but patchy in places. Defence in many cases depends on ad hoc formations made up from whatever troops are available to counter the advance of the Allied armour.

This scenario is one such encounter.

A British tank squadron and a company of motorised infantry have been tasked with taking a river crossing.

An ad hoc German Kampfgruppe is opposing the British advance.

 
The German force was:

1 weakened Kompanie of Panzergrenadiers (veterans)
Co HQ (with 3 Panzerschrecks) L3 BM (2 x SdKfz 251)
2 x Zugs each with L2 BM
1 section of 4 x MG42
1 improvised Rifle Kompanie (poor regulars)
HQ – 2 x tripod MG42, 2 x Panzerschrecks L2 BM L1 BM
1 rifle Zug L1 BM
1 Zug of Panzerknackers (2 x MG42 teams, 4 riflemen, 8 x Panzerfaust shooters) L2 BM

1 ad hoc Panzer Kompanie
HQ – 1 x Tiger I L3 BM (veteran crew)
1 x Panzer IVH (average crew)
Zug 1 – 3 x Panther G L2 BM (average crews)
Zug 2 – 4 x Panzer IVH L2 BM (green crews)

Anti-tank Zug
3 x Stug III (average crews)

The British force was:

1 squadron of Cromwell IV and Sherman Vc tanks (all average crews)
HQ – 3 Cromwells (1 with 95mm CS howitzer) and 1 Sherman Vc L3 BM
4 troops, each with 3 Cromwells and 1 Sherman Vc each with L2 BM

1 company of motorised infantry (the infantry are dismounted from their vehicles) all good regulars

Co HQ – 1 x 8 man rifle section L3 BM L1 BM (in a halftrack)
3 x rifle platoons each with L2 BM
1 carrier section – 4 x carriers with Vickers MMGs (can be mounted or dismounted)
1 flamethrower section (4 teams in a halftrack)

For this scenario, the following conditions were applied;
The Germans may defend in depth on both sides of the road. The Germans must defend a river crossing at their end of the table.

Some of their tanks have been recycled from battle-damaged vehicles and the German deck includes the Vehicle Breakdown chip. When this is drawn, roll 1D6 for each tank that has already been deployed (don’t roll for tanks under Blinds). Only roll once for each tank.

Any tank that rolls a 1 is broken down and will be immobilised for the rest of the game, but can continue to fire. Any shock against an immobilised vehicle will be doubled.

Any tank that rolls a 2 will suffer a failure of the turret traverse and will only be able to fire in a 90 degree forward arc.

The Panzerknacker Zug is split into two sections, each with 1 x MG42, 2 riflemen and 4 men with Panzerfausts. Once the Fausts have been fired, these troops revert to being ordinary riflemen.

The Germans have four pieces of field earthworks and one small pillbox.

The Germans can deploy hidden or under blinds, They have no dummy blinds.

The British will deploy under blinds and have two dummy blinds.

The 95mm CS howitzer fires smoke shells only, as do the 2” mortars in the British platoons.

The British are to advance along the road, which is hemmed in by trees on both sides to take the two bridges over a river defended by a German force. Only the larger bridge can support the weight of tanks, but smaller vehicles can cross both bridges. The terrain is undulating and visibility is broken up by the trees and hedges. The ground suits the defenders and is not prime tank country.

Intelligence reports that the bridges are well-defended.

I allowed the Germans to deploy up to halfway  along the length of the table, with the British being limited to a deployment zone that was one quarter of the table deep.


The Germans chose to deploy with everything hidden in their deployment zone. I didn't know where they had placed their units, but I assumed that the pillbox would play a role. The British deployed under blinds on both sides of the road but pretty soon they had had a number of elements spotted.


The 2" mortar of this platoon quickly started to lay down smoke to prevent the defenders from firing on them. On the British right, more tanks and infantry advanced towards a hill, spotting some German defenders, Panzerknackers and MG42 teams from the weak Landser Kompanie. These were quickly eliminated by mass machine gun fire from the tanks (well, the Cromwells actually, the Sherman Vc tanks not having hull MGs) and the Vickers-armed Carriers. The power of the machine guns was pretty much devastating.


The Germans were unwilling to show their hand at all and most of their troops remained unspotted and hidden, holding their fire and pretty much inviting the British to advance. The British managed to discover a Zug of Stug III tank destroyers behind a hedge.


Despite massed fire from the two British left flank tank troops, these Stug IIIs remained unharmed and soon caused havoc on the single Cromwell troop in front of them. The infantry platoon was also suffering from accurate fire from a tripod-mounted MG42 in an earthwork. The British advance appeared to be stalled on the right.


On the British left, the tanks were pretty much stuck in a traffic down in the unsuitable ground on this side of the road.


The platoon supporting these tanks, cleared away the German infantry screen  opposing them and started spotting more Germans. These were a tougher prospect than the Landsers - hull-down PZKfw IVs and the Tiger.


On the German left, the remaining tanks were revealed (a poor photo, unfortunately);


And the Germans also revealed a previously unseen Zug of Panzergrenadiers covering the central lake and road junction.


A different view of the German Panzerfront, a daunting sight for the British tanks.


At this point, the  clock was ticking and there was little time left to reach a conclusion. However, it didn't look too healthy from the point of view of a British tanker. Regretfully perhaps, the British commanders decided that discretion was the better part of valour. One tank troop was a set of burning wrecks and one infantry platoon had taken a lot of casualties from machine gun fire. The Germans remained in a solid defensive posture, with the only casualties being from the screen of Panzerknackers and MG42 teams.
   
So, an interesting game, the Germans playing a canny waiting game and the British being unwilling to advance too far into the unknown, even declining to use the Allied Armour Bonus chip whenever it emerged from the bag. Discussing this afterwards, the consensus was that after the attritional horrors of the Normandy campaign, the British regulars tended towards self-preservation rather than Tally Ho-style heroics. We agreed that once the location of the German tanks was known, the appeal of advancing towards those long 75mm guns (not forgetting the 88mm on the Tiger) was limited, to put it mildly, especially as they were adequately protected by those unharmed and fresh veteran Panzergrenadiers.