Showing posts with label 15mm tanks. Show all posts

Friday, 18 April 2025

Four Soviet light tanks

I've had these four tanks for years, probably since 2021 or 2022, so I thought it was about time I did something with them.

These are a pair of T-26 light tanks, originally introduced in 1931 and staying in service in various variants until the end of WW2. These are (I think) the T-26 Model 1933 with a 45mm main gun and a co-axial 7.62mm machine gun. This was the most common variant produced and one of the mainstays of Soviet armoured units in 1939-41, by which time it was obsolete and outclassed by Germany's Pz.Kpfw III and IV tanks and was being replaced by the far better T-34 tank with a 76mm main gun. Some did stay in use for most of the war on some fronts and even featured against Japan in 1945.

Below are two T-60 scout tanks, which began production in 1941. Originally armed with a 20mm cannon, it was later upgunned with the 45mm gun used by the T-26 above.
 

The T-60 was too thinly armoured to be used in a front line role but was used by reconnaissance units until it was replaced by the improved T-70 light tank.

These are all Zvezda kits,  which are now quite hard to find because of sanctions against Russia. I bought mine at my club's tabletop sale from private sellers, so none of my cash went back to Russia.

Anyway, I'll be able to use these for CoC games set during Barbarossa and later.

Monday, 27 May 2024

Finally got the camera and lightbox out.....

 ....so that I could photograph some completed things. Here are some tanks. First a really silly Soviet monster;

The T-35 couldn't be called a success in any meaningful way, but it has a certain WTF? quality about it. This is a 15mm Zvezda kit and I'm not sure how or when I might get it onto the table, except maybe as a broken down vehicle that could be an objective. I think I've painted it up a bit pale, the green really ought to be darker, but my excuse is that the factory that produced it only had a lighter batch of green paint available.

Now, three more sensible German AFVs;

From left to right there are: the Czech CKD LT vz. 38 which, as the Pz 38(t)  was a useful (and much needed) addition to the early war Panzer forces, the workhorse Pz Kfw III Ausf. G with the 5cm Kwk 38 L/42 and the Sd Kfz 222 with the 2cm KwK 30 autocannon.  These are also Zvezda kits and will work nicely for the invasion of the Low Countries and the Battle of France and also for Barbarossa.

Monday, 19 June 2023

A break from the 17th century; more 15mm Soviet armour from Zvezda

I've been feeling the need to paint something different, so here are four WW2 Soviet AFVs.


So, above are two T-34/76 tanks. I already have one of these but I need two more for a game that is being arranged for some point in the future. The gun on the left-hand tank looks a bit droopy, but I've straightened it up a bit. To be honest, it looks OK in real life, so maybe it is an optical illusion? 

Next, something I bought in case I get around to playing some Barbarossa period games, a BT-5.


Generally outclassed by German tanks and anti-tank guns, the BT-5 was very common in the early war period, and remained in production until sometime around the end of 1941. Equipped with a 45mm M32 20K gun, it was able to penetrate the armour of the PzKPFW III Ausf. D, E, F, and G variants at a range of up to 1000m, although it was more effective at shorter ranges. It was at a huge disadvantage defensively because it was only lightly armoured and could even be vulnerable to the German PzKpfw II's 2cm KwK 30 cannon at relatively short ranges. During 1941, the BT-5 and the BT-7 were gradually replaced by the vastly superior T-34/76.

Finally, here is the SU-85, a tank destroyer designed in 1943 to use the chassis of the T-34 but armed with an 85 mm D-5T gun to provide better armour-piercing capabilities against the German Tiger and Panther tanks. Originally intended for use in the T-34/85 tank, the D-5T was replaced as the T-34/85's main gun by the ZiS-S-53 in early 1944 until the end of the war. Production of the SU-85 was ended in mid-1944 as the T-34/85 became more widely available. Around 2500 SU-85s were produced.


I like these simple Zvezda kits because you can buy them singly, they have very few parts and you can get them made, undercoated and painted pretty quickly. Without a great deal of effort, you can turn out decent-looking tanks that easily pass the 1 metre away visual test.

Friday, 4 February 2022

A couple more Soviet tanks

 These are also Zvezda 1/100 scale kits. The tanks are both KV-1 heavy tanks from the early war period.


Yes, they look pretty much identical but they are actually different.

The tank on the right is the earliest production model, the KV-1 M1939, equipped with the L-11 76.2mm tank gun, which was also fitted to the earliest model of the T-34. This version was prone to mechanical problems and only 141 were built.

The left hand version is the KV-1 M1940 with the F-32 76.2mm which was also used on early T34 models. Later models of both tanks were given the F-34 76.2mm ZiS-5 gun, which had a superior performance to both earlier guns.

The only visual difference here is the shape of the gun mantlet.

When painting these, I chose not to paint any markings on the tanks, which was quite common on real-life Soviet tanks. I also chose to make them look quite muddy. I like my tanks to look used and battle-worn rather than suitable for victory parades in Red Square.

I am thinking that these will be useful support options for Barbarossa-period games.

I've also been working on some more later tanks, which I'll post separately.

Most of my time has been taken up with buildings, though; cheap 15mm MDF ones that I bought on ebay and have been zhooshing up so they look presentable on the gaming table. I'll do a post about them separately, too.

Tuesday, 18 January 2022

My first post of 2022 - the start of my Soviet project

OK, this is my first post of the year, almost three weeks since my last activity on the blog.  I have been busy, though.

My priority has been working on my 15mm WW2 Soviets for Chain of Command. These are required for a game I will be running at Winter Wonder Lard at BIG in February. I have pretty much completed everything I need, apart from all the terrain items I am planning to use, so I'll be posting a number of posts over the next week or so with where I am.

First, here are a couple of Soviet vehicle choices. A SU-76 and two BA-64 light armoured cars;


These are Skytrex models and I think they are very nice too. I have two BA-64s because they are sold as a pair, but I am pretty sure I'll be using both of them. I am very pleased with the SU-76. It is a really nice model with a lot of crisp detail. It comes as the hull, two sets of running gear and the 76mm Zis-3 gun, plus three crew members, so a spot of super glue work is required. The BA-64 models come with separate wheels and turrets, so glue time there too. I am happy to report that everything goes together cleanly. I painted the crew separately and stuck them in afterwards. 

I will do separate posts covering the various infantry and support components for my Soviet forces.


Saturday, 4 April 2020

What A Tanker! An actual game.

And not only an actual game, but with an actual real live opponent.

Yes, I was able to play WaT against someone, my partner, who has never played the game before. Anyway, it was a chance to play a game and introduce her to the rules. The location was our dining table, suitably converted into a wargaming table with the addition of three 4ft x 2ft sheets of MDF and a cheap playmat, which is actually a piece of fake grass sold by Lidl a few years ago. 

We played with three tanks a side, the British with two Cromwell Mk IVs and a Sherman Vc and the Germans with a Panzer IVH, a Panther G and a Stug IIIG. We rolled for where to start and then rolled again to see who would be on which side. I ended up as the German player, entering from the left side of the table as shown in the first picture.


The Cromwells made good use of their speed, with one attempting, and succeeding in a flanking manoeuvre on the British left.


The two big hitters got into a short range standoff either side of a line of bocage, with the Panther reversing back through a gap it had previously made in the hedges.


One of the British Cromwells targeted the Stug III but was unable to cause any damage other than to the targeting optics.


The Pather went stalking after the other Cromwell.


The 17pdr Sherman made short work of the PzKpfw IV. First blood to the British.


Before long, the Panther got revenge by brewing up the Sherman.


One Cromwell got totally immobilised and had its turret so knocked about that we decided the crew would have to bail out, but the other Cromwell took out the Stug III with a sneaky attack in the rear. However, after a fair amount of cat and mouse, the Panther knocked out the last Cromwell.


After the game, which my other half enjoyed, despite losing, we decided to keep the table set up for an introduction to Chain of Command tomorrow, using today's game as a recce mission by the British in advance of an attack by Infantry. We have left a couple of tanks on the table, but have assumed that the victorious Germans have retrieved their knocked out vehicles, as well as the immobilised Cromwell.

Monday, 2 March 2020

More from Winter Wonder Lard - Blowing the Bridge

I've already blogged an overview of the day, but I wanted to write a bit more about the game I put on at BIG Winter Wonder Lard. I'd played this scenario a few times in the past at the club, and it seemed to provide a challenging game, but I wanted to give it an extra dimension. Big Chain of Command seemed a good idea for how to do that. I set up a long table, designed to give both sides the chance to get forward during the patrol phase and try and grab the advantage.


In the day's programme, my comments about the game were;

"D-Day was nearly three weeks ago, but the British have still not managed to capture the city of Caen. Now, Operation Epsom is about to begin. 

It is essential that armoured troops get moving into position before the operation commences. However, a vital bridge over the River Lardienne is still in enemy hands. Divisional intelligence believes that the Germans will destroy the bridge over the river before 7th Armoured can seize the objective. The RAF has mounted several sorties using Mosquitoes and Typhoons to try and drive any defenders away and now a mixed force of infantry and tanks is being sent to drive off any Germans who are still around and secure the bridge itself."

The game was played along the length of the table. The River Lardienne ran along most of the length of the table, beginning near the British edge of the table and exiting at the German end, with a bridge placed in the final third of the table. The river could only be crossed by using the bridge. There was a road from the British end of the table, exiting at the German end. A junction took the road across the bridge.

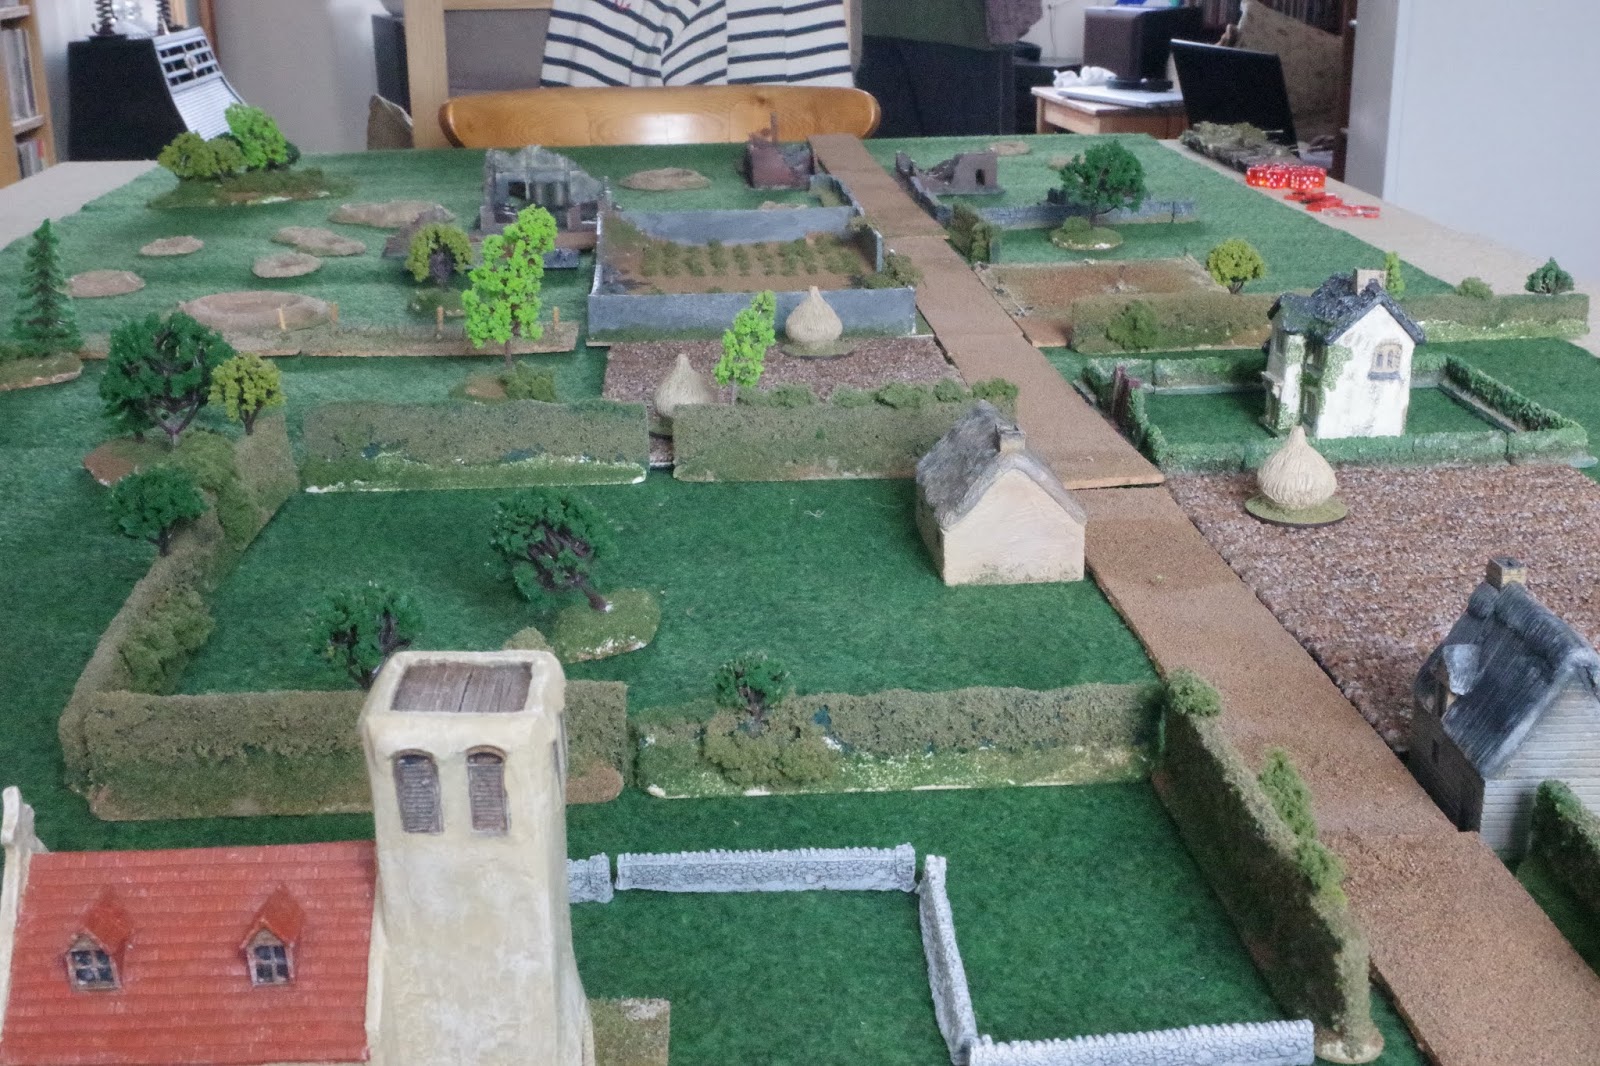
The British have advanced across relatively flat countryside, lightly wooded away from the river, and with fields and hedges closer to the water. Craters crossing the table diagonally show where RAF ground attacks have been targeted.


All British  troops are classed as Regulars. The forces available are;
  
Command 1
1 rifle platoon (HQ (1 x SL (force commander, ranking SL – 4 CIs), 1 x SL (ptn sgt), Bren and 2” mortar teams) plus three sections). 

1 recce section (3 Universal carriers, 1 x JL, 1 x Bren team, 1 x PIAT team, 1 x 2” mortar team)

Note that the force commander has taken a Bren team from the recce section and given it the platoon PIAT in exchange.

 Command 2
1 tank troop (3 x Cromwell Mk IV tank, 1 x Sherman Vc, each tank has 1 x JL apart from one of the Cromwells, which has a SL)

Having suffered heavy losses since landing in Normandy, 7th Armoured has become somewhat risk averse and is classed as being Hesitant, and the tank commander will only roll 4 Command Dice.

The German force available is a small ad hoc Panzergrenadier group;
                                                                                                                                              
Command 1                                                                
1 standard Panzergrenadier Zug; HQ 1 x SL (force commander, ranking SL - 4 CIs), 1 x 2-man Panzerschreck team, plus three sections, (each section JL has 2 x Panzerfaust 30s which can be used by any member of the section). 

These troops are classed as Regular and Aggressive, rolling 5 command dice. 

1 x MG42 tripod-mounted MMG with 5 crew                                                                                                                             
Command 2
1 x SdKfz 251/9 with 7.5 cm KwK37 low velocity gun
2 x SdKfz 251/22 with 7.5 cm PaK40 anti-tank gun
1 x SdKfz 250/9 with 2 cm KwK 38 and co-axial MG42 and 1 x JL
1 x SdKfz 250/10 with 3.7 cm PaK37 and 1 x SL
                                                     
1 x 5-man demolition engineering team (without a leader), carried in a halftrack without weapons (but with a driver who stays in the vehicle). Their role is to plant charges, not fight. 

The Germans also have two lengths of barbed wire and one small prepared defensive barricade. These will be placed after the Patrol Phase.

I was expecting two players per side but one didn't show up, leaving a gap on the British side, which I filled as the player in charge of the tank troop.

Following the patrol phase, both sides took up a fairly aggressive stance with at least one JoP in a forward position.


The game began slowly, with both sides keen to gain a positional advantage before any actual fighting took place. The Panzergrenadiers began to push down the table on their left flank.


Meanwhile the German vehicles pushed towards the bridge on the far bank of the river, with a single SP PaK 40 on the road on the other bank.


The British infantry came under fire and preferred to wait for the arrival of the tanks before attempting any aggressive moves, although eventually both the platoon sergeant and the platoon commander were deployed into the ploughed field furthest away from the German positions. This was to prove crucial later on.


Unsurprisingly, the British used both 2" mortars to get as much smoke laid down as possible, but not before the German Panzerschreck knocked out the 7th Armoured's lead Cromwell. Having four command dice really hampered the tanks. Quite often only one vehicle could be activated, but later on the troop commander became more active.

A fierce shooting match between the Panzergrenadiers and the British Rifles took place along the road, with both sides seeing the butcher's bill mount slowly. It looked as though the defenders might prevent the British from taking the bridge. However, that was soon going to change.


As the British tanks moved along the river bank (the 'Schreck team having been dealt with by a couple of applications of H.E.), their guns were able to neutralise the SdKfz 251/9 with the short 7.5 cm howitzer and a shot from the 17pdr Sherman immobilised the engineers' halftrack, forcing them to bail out at one end of the bridge.


Once the hapless engineers were on the bridge, the British used directed Bren fire and the machine guns of the tanks to hose the bridge down, whittling down the number of engineers and inflicting shock on the survivors.


Finally, the last engineer succumbed to a hail of MG fire, leaving none left to demolish the all-important river crossing. 

With the loss of the demolition team, I called a halt to proceedings awarding the victory to the British.

I think that we all agreed that it had been an entertaining game and I thank Simon, Mike and Stephen who took part in the game.

This is definitely a scenario that is worth playing again.

All figures are my Peter Pig 15mm Late War British and Germans, and the vehicles are all Plastic Soldier Company.


Wednesday, 2 October 2019

Nijmegen weekend - Big CoC at BIG

Last weekend, it was time to go down to Bristol Independent Gaming for two days of 15mm Chain of Command to play out a number of scenarios in and around Nijmegen during Operation Market Garden in 1944.

Day One

The weekend was excellently organised by Jimmy, who set up three interesting tables for the first day. The first represents the Hunnerpark, with the bridge over the Waal off at the top left. SS Panzergrenadiers would be defending the approaches to the bridge along the left of the table, with 82dd Airborne coming from the right Both sides had limited armour support.


The second table represents the approaches to the railway bridge. This would be an all-armour affair, with Guards Armoured coming up against Jagdpanzer IVs.


Finally, the road north of Nijmegen with 82nd Airborne attacking from the top, with the road defended by an ad hoc Heer Zug, made up of rear echelon troops.


The fighting was fierce on all three tables, with the Allies coming out victorious in the latter two encounters, but being forced to withdraw from the fight in the Hunnerpark dues to heavy losses. In early random event caused this house to the south of the park to catch fire. This was a mixed blessing for both sides, but overall it favoured the defenders.


The Panzergrenadiers had a huge superiority in firepower, with two MG42s per section, and these really swung the result.


This PaK 40 was a threat to the 82nd.


This single Guards Armoured Sherman was a problem for a long time, but was finally knocked out by the Jagdpanzer.


Even though the 82nd were able to use the smoke to try and outflank the defenders, their numbers were too few to take the bridge without armour so the US commander decided to pull out.


The fight in the marshalling yards was a real cat-and-mouse affair, with the Allies finally gaining the upper hand, knocking out all three Jagdpanzers for the loss of one Sherman.


On the final table, the 82nd managed to push out the Heer Zug defending the road.


This final table was in the balance for a long while, but the superior abilities of the 82nd won the day in the end.

Day Two

The second day was a single huge game of Big CoC, i.e. Chain of Command with multiple players on each side. The rules can be found here, on the TooFatLardies blog. Of course, you'll still need the main rules to play this amendment.

The scenario was set in Lent, a suburb of Nijmegen north of the road bridge over the Waal. The premise was a German counter-attack from the direction of Elst, north of Nigmegen to try and recapture the Waal bridge, which even though the south end was still in German hands after Day One, the defenders had been forced to withdraw due to the Allies taking the northern end of the bridge and bringing armour up over the rail bridge.

Here is the view from the German end, looking south. the low-lying land either side of the road was boggy, meaning that armour risked bogging-down if it chose to drive across it at anything other than slow speed. The Germans needed to get infantry across the open ground to try and hold the crossroads in the centre of the village.


A good patrol phase saw the Germans get jump-off points (marked by SdKfz 251 half-tracks) in the woods to the right and also up on the edge of the table on the left.


The final German JoP was close to the road at the German end of the table.


The Germans received a lot of support points, giving the Panzergrenadiers an additional section and the Heer Zug two extra sections. They also got two PaK 40 guns and an additional Senior Leader.


Before long, the Heer Zug was in action close to the hedges, threatening one of the Allied JoPs.


The Panzergrenadiers and guns on the right stayed on Overwatch, awaiting developments ahead. The Armour, in the shape of four Jagdpanzer IVs was held in reserve off-table.


A Panzerschreck team was sent towards Lent, to try and get close to the action, but also to see if the Germans could advance a JoP. Unfortunately, it was targeted by mortar fire and killed.


The Panzergrenadiers once again used their MG42s to great effect, pinning on section of the 82nd and causing shock to another.


 On the left, the Heer Zug moved through the woods, while the section by the hedge survived a bout of hand-to-hand combat, wiping out thie opponents, and threatening an Allied JoP.


Meanwhile, the Allies in Lent were getting troops into the houses. The village was looking like a tough nut to crack, especially with the arrival of the Guards' tanks.


As the Heer Zug made ground through the woods, the detached section captured the JoP. Events were pushing Allied Morale down, but their position was too strong to take by a frontal assault. The tank Troop Firefly had a view all along the road, making it risky to bring on German vehicles.


The 82nd troops were forced out of the upper stories of the buildings, meaning that the flat ground outside the village was now dead ground.


Heavy accurate MG42 fire was causing the 82nd a lot of casualties, but what was needed was some aggressive movement. The Heer Zug was taking a lot of fire too, so the SS Panzergrenadiers began to advance through the dead ground where the Allies couldn't see them.


Finally, the Jagdpanzers began to slowly attack. This paid off handsomely, when the lead Jagdpanzer knocked out the Firefly after a short exchange of fire.


The German infantry finally got to the hedge, but were immediately fired upon from the buildings.


The Panzergrenadiers also captured another Allied JoP, causing another drop in Force Morale.


Another Sherman was brewed-up by a Panzerfaust shot. The Allies were now down to a single tank.


That last Sherman took out the leading Jagdpanzer.


The Germans managed to get infantry inside the village, but fresh 82nd sections appeared, inflicting many casualties. Although the Allied Force Morale was getting low, and they had lost a couple of Command Dice, it was difficult to see how the Germans might get them out of the buildings without taking a lot of casualties.


As we were out of time, Jimmy, who was umpiring called time. All the players agreed that although it was a minor German win, overall, the counter-attack had failed in the aim of getting the Allies out of Lent and taking back control of the crossroads.

So, all in all, an excellent weekend of gaming. Thanks to Jimmy for organising the proceedings and to Dave, Dee, Andy, Ed and John for being such good allies and opponents.