Wednesday, 15 November 2017

Two linked AARs for Alien Squad Leader

This post covers two games of ASQL at the club, fought between me and Richard. Originally, it was just one battle, but for reasons that will become apparent, we fought a second game a week later, using the same forces.

Here is some scene-setting narrative.

On the fringes of the regions of the galaxy occupied by Humans there lies a number of star systems inhabited by other, alien, civilisations, some of incredible age and others shrouded in secrecy and of an almost incomprehensible complexity. Of these civilisations, some shun all contact with Humanity but others have a long history of interaction, trade and conflict. One such civilisation is that of the Ry'Hlyn, a humanoid race of a quasi-arthropod nature and with an aggressive expansionist attitude. 

The Ry'Hlyn Empire is incredibly ancient and with links to Humanity that stretch back into the legendary shadowy prehistory of the long-lost and presumably destroyed Human home planet, Earth. The Elites of the Ry'Hlyn are devotees of a complex religion dedicated to ancient beings known in a number of legendary Human texts as the Outer Gods. No cult is more aggressive in its pursuit of all heresies than that of the trans-dimensional being known as Azathoth, once described thus in an ancient Human text; Outside the ordered universe is that amorphous blight of nethermost confusion which blasphemes and bubbles at the center of all infinity—the boundless daemon sultan Azathoth, whose name no lips dare speak aloud, and who gnaws hungrily in inconceivable, unlighted chambers beyond time and space amidst the muffled, maddening beating of vile drums and the thin monotonous whine of accursed flutes.

The first AAR describes a pursuit of a group of once-Human members of a Cult that worships a serpentine daemon god by a force of Azathoth Cult devotees (Alien Imperials in the ASQL rules) from the Ry'Hlyn Empire. The Serpent Cultists, commanded by Richard, have been pursued to a temporary stronghold on the banks of a river. Here, among the trees of the jungles that cover this world, a small force of Serpentines have made a stand, intending to repulse the enemy and prevent them from breaking through and destroying an important Cult Shrine.


The Serpentines have a number of  armoured vehicles and tanks of a fearsome appearance but questionable reliability.
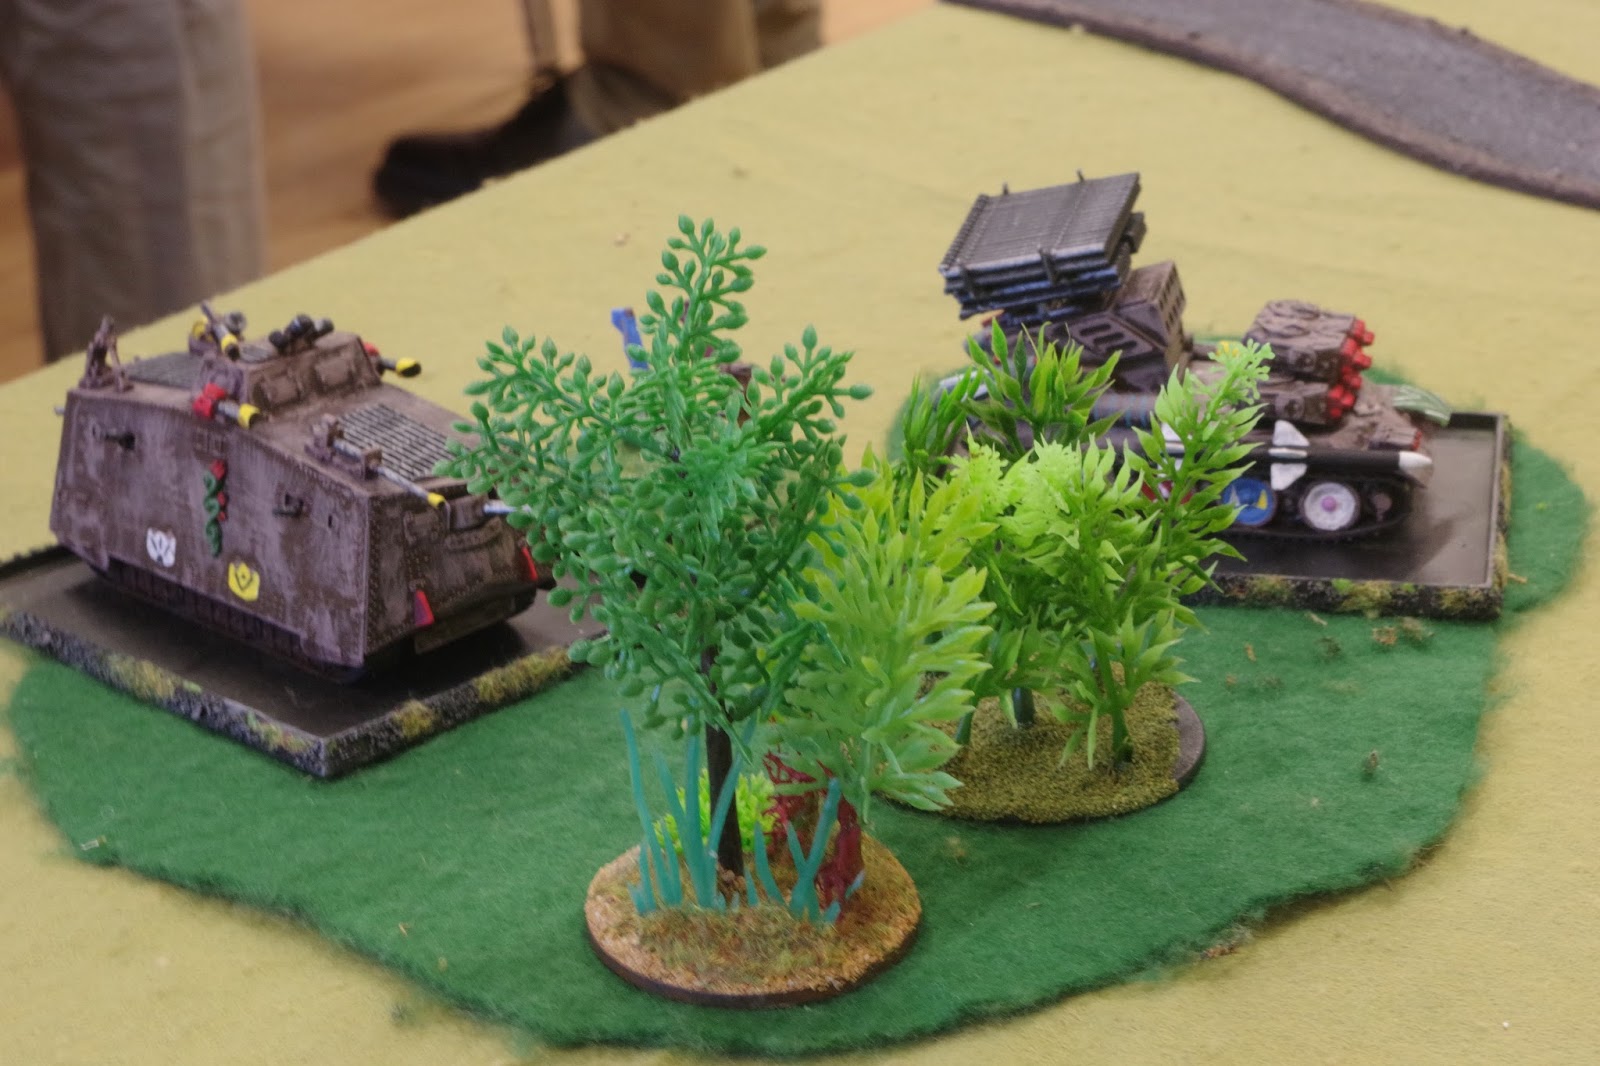

These vehicles dominate the centre of the battlefield and guard the approaches to the road bridge on the Ry'Hlyn right flank.

 
The Ry'Hlyn advance in the centre, supported by heavy battle droids.


On the right, Ry'Hlyn heavy weapons move to occupy a small hill overlooking the road bridge.


On their left, Ry'Hlyn infantry advance behind a screen of fearsome Trained Beasts, led by troops from a Primitive subject race.


Before long, the Beasts, bred in terrible laboratories on blighted dark worlds by Ry'Hlyn sorceror-scientists using arcane techniques cross a foot bridge to the west of the main river crossing


Here, we can see the Ry'Hlyn centre and right flank, taking up a strong firing position.


Before long, the Beasts and their Primitive commanders destroy most of the Serpentine forces on the hills to the west of the main Serpentine position.


More Serpentine troops emerge from their armoured vehicles to try and prevent the Primitives from exiting the field of battle and therefore effecting a breakthrough.


Heavy fire ftom the advanced energy weapons of the Ry'Hlyn droids and heavy weapons cause much damage to the Serpentine vehicles, eventually causing one tank to explode in a ball of lacerating fire.


As the Beasts begin to exit the field, exultant Ry'Hlyn infantry advance across the river to engage the remaining Serpentines. 


However, it is too late for the Serpentines to prevent the Ry'Hlyn army from getting the required number of troops off the table and the battle is lost.

The victorious Ry'Hlyn commanders offer up prayers and invocations to mighty Azathoth and imbue their troops with Holy Zeal. They urge their troops onwards to destroy the obscene pollution that is the Serpent Shrine.

So, that was Battle One. Because it was so one-sided, Richard and I agreed to a rematch the following Sunday.

This second battle had the Serpentines defending a small settlement with an objective representing a sacred shrine to the Serpent deity.

 
Shielding the advance of the Ry'Hlyn alien army was a small forested area.


The Ry'Hlyn advanced with the Beasts once more on the left and the main body of troops in the centre.


A small group, including heavy weapons occupied a copse on the right.
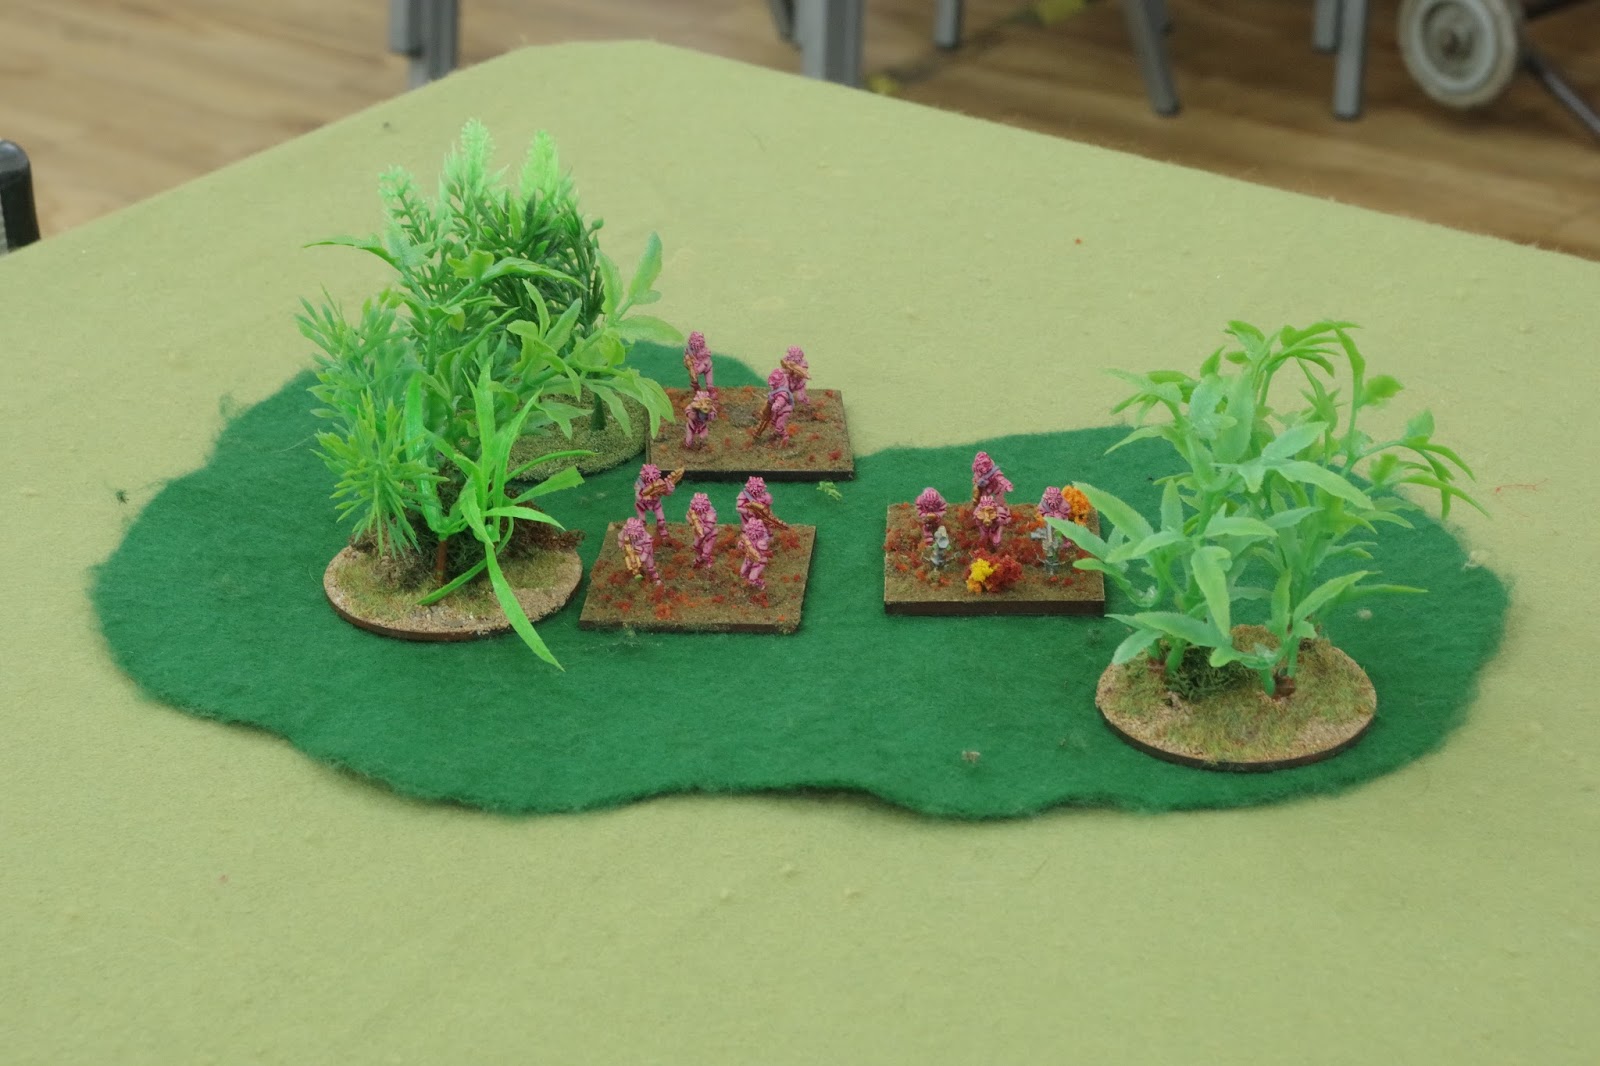
 
Here is the objective, the Serpent Shrine.


Before long, Ry'Hlyn forces had occupied the forested areas. The plan was to use the Beasts to destroy the Serpentine right flank and roll them up, with the heavy weapons of the droids taking out the accursed tanks.


Before long, the Beasts were approaching combat.


Amazingly accurate shooting by the Serpentine Cultists caused damaging hits on the Ry'Hlyn droids. This was going to be a problem.


Even worse, the heavy weapons team on the right was soon destroyed. This pretty much eradicated the threat from here.


Although the Beasts had managed to kill or drive off many of the Serpentine defenders on the Ry'Hlyn left, they were unable to completely clear the area. This wasn't going according to plan.


To make things worse, hits were mounting on the heavy droids.


 The Beasts started to gain the upper hand, but was it just too little, too late?


The Ry'Hlyn heavy weapons in the centre were also destroyed, as was one of the heavy droids. Taking the objective was beginning to look like a lost cause.


The troops on the Ry'Hlyn right began to advance in the open to try and get close to the shrine.


Unhappily, this was unsuccessful as the Serpentines managed to destroy sufficient troop stands to force the Ry'Hlyn army to break.


So, the rematch, on ground sacred to the Serpetine Cult, proved to be a disaster for the Azathoth Cult of the Ry'Hlyn Empire. Assaulting troops in built-up areas proved to be a problem for the Beasts and early damage to the heavy droids reduced their effectiveness.

Nevertheless, the two games were hugely entertaining and I am looking forward to using my Alien Imperial Ry'Hlyn in the club's forthcoming ASQL tournament.

Tuesday, 7 November 2017

A date for your diaries - 26th November 2017

The Lincombe Barn Wargames Society (a.k.a. The Club) is happy to announce this year's edition of the annual Reveille II event.


This isn't the biggest event you will ever attend, but it is always a popular one and there will be the usual mix of traders, private sellers and games.

So, if you are a wargamer in the Bristol area, come on down to Lincombe Barn and spend an hour or two at the show.

Sunday 26th November 10.00-4.00pm

According to Miniature Wargames, "Reveille is a fine example of a local wargaming show. It is a friendly event, packed with traders. There are always multiple participation games to join in. "

It's at the same venue as always, Lincombe Barn Folk House, Overndale Road, Downend, Bristol, BS16 2RW 

Entry prices : Adults £3, Concessions £1.50 (under 18s, OAPs).

Here is all the information you'll want to know;

TRADER GAMES

History of Wargaming Project - The Ancient Wargame - A participation game using Tony Bath's original flat figures.
Scarab Miniatures - Zero Hour - WWI Participation Game.


VISITING CLUBS' GAMES

DOG's of War - Uncharted Seas
Abbey Wood Irregulars - Zulu War display game.
Major Brothers - '2nd Afghan War' - A display game with some participation.
Society of Gentlemen Gamers - 'The pursuit from El Alamein' - A WWII display game.
IPMS Avon - a display of models & modelling
Wings of War Aerodrome - Wings of Glory participation game


TRADERS

Magister Militum -  www.magistermilitum.co.uk
Grubby Tanks/Britannia Miniatures - www.grubbytanks.com
Reinforcements - www.reinforcements.org.uk
History of Wargaming Project - www.wargaming.co
Scarab Miniatures - www.scarabminiatures.com
Glenbrook Painting Services - a painting service to gamers and collectors, from 10 to 54mm.
Ironclad Miniatures - www.ironcladminiatures.co.uk
Great Escape Games - www.greatescapegames.co.uk
The Dicebag Lady - www.thedicebaglady.net
Warlord Games - www.warlordgames.com
Instant Armies - Pre-painted figures of various periods.
The Square - www.thesquare-wargames.co.uk
EZPainter - www.ezpainter.co.uk
Hysterical Games - www.hystericalgames.co.uk/
Pit Gaming - www.thepitgamingshop.org/
Faces of War at Bulldog Studios - https://www.facebook.com/Faces-of-War-at-Bulldog-Studios-800325530029171/
Willz Wargaming Loft - william_harley@sky.com
Ham and Jam - http://www.hamandjam.co.uk/
Andrew Wilson - 3D printed WW2 and modern tanks.


PRIVATE SELLERS ROOM

Various private sellers.


Travel directions;

Car: On the M4 motorway exit at J19 onto the M32. Exit immediately at Junction 1 of the M32. At the bottom of the sliproad go left, straight on through the Hambrook traffic lights, then bear right (signposted Downend) at the roundabout, turn first right after the Cleevewood shops.

Train: Bristol Temple Meads or Bristol Parkway (closer).

Buses: The timetables for buses in Bristol can be found at www.firstgroup.com.

Charity Contribution

This year we are raising money for the Downend Folk House Association, and St Peter's Hospice.

Please Note:

A small part of the premises are not fully accessible to those with mobility problems due to a flight of stairs. Therefore we will make no charge for entry to the show for those with such difficulties.

Local amenities;

Cashpoint: Lloyds, HSBC and the Co-op all in Badminton Rd, Downend.

Pubs: Green Dragon (Badminton Rd), Beaufort Hunt, Horseshoe, White Swan (Downend Rd), Sandringham Arms(Quakers Road).

Shops: Somerfield (Cleeve Hill Extension), Threshers (Overndale Road), the Co-op (Badminton Road), the Post Office (Quakers Road).


Tuesday, 24 October 2017

Frostgrave: Ghost Archipelago - the Postman Rang Once

I've been eagerly awaiting the postman today, because I was really hoping that my Ghost Archipelago Nickstarter would get delivered and, just before noon the doorbell duly rang. I'd had an email on Sunday from Annie at Bad Squiddo to say that it had been packed and sent, so it wasn't really that much of a surprise.

Anyway, what was in the box?

First off, I love the personalised Bad Squiddo postage sticker.


And here is Annie's personalised delivery note, the obligatory Gunny Pets and a complementary fruit tisane teabag. Thanks, Annie! I'll drink it later.


Now, on to the goodies. First, the rule book, the accessory pack and the book of Ghost Archipelago stories (for some bedtime reading!).


Then, there is the box of plastic crew figures, of which more later.


And the crew sheet, which I expect I'll have to scan and print off, so as not to deface the original.


Now, here are the shiny toys. Top left are the four female crew figures, who are lovely castings. Moving anti-clockwise, there is my chosen Heritor and Warden (I went for a female Stormwarden), the Pirate Queen (she is spectacularly good) with her pet giant iguana, who is clearly going to have to be called Iggy Pop, three one-off add-on figures from Northstar, five resin tokens and, in the centre a Bad Squiddo Ghost Archipelago badge. I've not cleaned the figures up, just trimmed off some of the more obvious bits of flash, but overall they are pretty clean castings and have bags of detail that will look brilliant once painted.


Next, here is the contents of the plastic 28mm crew box. Four sprues of bodies, heads, arms, weaponry and whatnots, which is what one would expect from a Frostgrave box. Plenty of opportunity here to create a characterful and hopefully unique crew for your games. There are also two sprues of 25mm diameter bases. There are plenty of weapons options; swords, axes, spears, bows, crossbows, club etc and some small buckler-style shields, plus quivers, pouches and other bits and pieces. I am rather drawn to creating an Arabian Nights styled crew, because that is the look of the metal female crew members too. Plenty of thinking is required here, though.


Almost at the end now, so here is the contents of the accessories box, the game cards and a special Blood Burn die for recording the decreasing health of your Heritor.


Last but not least, here is a sample of the excellent artwork in the rulebook. From an initial flick through, the art is of the usual high standard we have come to expect from Frostgrave.


So, what now? Should I get started on these, finish off my Congo miniatures or make a start on my "My Last Sunrise" Vampire Hunters and Undead and supernatural minis? The lead mountain grows apace .......................

Monday, 23 October 2017

Another Sharp Practice American Civil War AAR

I played another game of Sharp Practice yesterday at the club against Richard, who hadn't played the game previously. He said later that he'd found the activation via card mechanism a bit odd at first, being used to I Go, You Go games generally, but once it had sunk in he enjoyed the game.
            
All the troops are from my Peter Pig 15mm ACW armies, and the resin buildings, animals and civilians are also Peter Pig. The fences are by 4Ground. The rest of the scenery belongs to the club.

Scenario

This was an mid-war scenario where both sides were made up of regulars. All infantry were equipped with rifled muskets. The Union cavalry had breech-loading carbines and the Confederate cavalry had Mixed Weapons (half rifled muskets and half close range firearms).

The Union forces (Me), led by Captain Bradley Stoke, have been sent forwards to test the Confederate defences and also to forage for food. Led by cavalry, they have found a hamlet where there are supplies (represented here by four stands of pigs and sheep). The mission is to make off with supplies but also to cause casualties to any Confederate forces they come across.

The Confederate forces (Richard), commanded by Lieutenant Nahum G. Pierce are charged with protecting the hamlet, but initially are unsure of the direction of approach of the Union troops.

 
Union troops

2 groups of 8 cavalry (dragoons) with with a Status 2 Leader, Lt Travis Perkins
4 groups of 8 infantry (regulars) with a Status 3 Leader (Capt. Bradley Stoke) and a Status 1 Leader (2nd Lt Richard Cunningham)
1 group of 6 skirmishers (Berdan's Sharpshooters) with a Status 1 Leader, Sgt. Henry Gibson)

Additional: Water Cart, Musician (bugler) , Physic and Status 1 Leader (Cpl Lyle Tate)


Confederate troops

1 group of 8 cavalry (dragoons) with with a Status 1 Leader (Lt. Byron Beausoleil)
4 groups of 8 infantry (regulars) with a Status 3 Leader (Lt Nahum G. Pierce)
2 groups of 6 skirmishers (One being Louisiana Tigers) each with a Status 1 Leader (Cpl Cooter Davenport, Sgt Randolph Cartwright)

Additional: Status 1 Leader (Sgt. Cecil Green), Musician (bugler), Colour Party and Mule Train

 Here is the table before any troops emerged.


The Union troops would deploy from the far end of the table, with the Confederates moving on from the closest end. The first troops to appear were the Rebel cavalry and the Louisiana Tigers skirmishers, who were rated as Good Shots. groups of sheep and pigs were placed in pens, to be the target of the Union troops and there were a number of non-combatants in the hamlet.


The Union infantry began to deploy and move forwards but the cavalry were delayed for some reason for three rounds of play. This would be a cause of concern. I had hoped to use the cavalry to secure an advanced position early on to prevent the Confederate infantry from moving at will.


The Rebel cavalry embarked on a long flanking movement on the left flank as more Rebel skirmishers appeared, led by Cpl Davenport.


The Union troops began to advance, with the main body of infantry in the centre, supported by Berdan's Sharpshooters. One group of infantry were given the task of defending a line of fences against the threat from the Rebel riders.


Finally Lt Travis Perkins arrived with his two groups of carbine-equipped cavalry, swinging round to attack the Confederate right flank.


Unfortunately, at this point the Union troops were crippled by inertia for two turns, with no Blue Leader cards being dealt. This would prove to be a fatal problem for the infantry in the centre, while the Confederate cavalry continued their flanking movement.


The main body of Rebel infantry soon deployed along the perimeter fences of the hamlet, pouring volleys of fire into the hapless immobile bluecoats.

Union casualties mounted, as did their level of shock. The musketry of the Louisiana Tigers was especially damaging. The advance stalled.


The Confederate cavalry stayed clear of the fighting and attempted to get behind the Union troops. In the end, though, they would be seen off by Union musketry, accumulating a lot of shock in the process, leaving them unable to mount a convincing threat to the Union Troops.
 

Things looked a bit brighter on the Union left, as the cavalry pushed up before dismounting in the wooded ground, from where they could deploy their carbines too good effect.
    

Things were definitely grim in the killing ground in the Union centre. No ground was made at all and before long the infantry were forced to withdraw. Force Morale suffered. The Berdan's Sharpshooters were able to fire back, and had some success against the Louisiana Tigers who had advanced into the broken ground outside the village.
     

The Confederate skirmishers in the woods were driven off by accurate short range fire from a group of Union infantrymen.
    

The Union troops advanced, causing casualties and forcing the Confederate infantry in the village to redeploy to meet the threat. To the front of the village, a huge cloud of black powder smoke hung over the field, obscuring the view for both sides.
    

This fire-fight took up the last few rounds of combat before it became apparent that the Union troops were never going to be in a position to make off with any livestock, having suffered more casualties than the Rebels and with their troops taking a lot more shock. Therefore, the only prudent course was for Capt. Stoke to order his bugler to sound the recall.

So, in the end, a first Sharp Practice victory for Rich and his Confederates.

Friday, 20 October 2017

Some plastic Mordheim figures

I bought a sprue of plastic Games Workshop Mordheim figures earlier this year at the club's Tabletop Sale. My original idea was to use them as warband members for Frostgrave, but in the end I didn't think that they suited the theme of my warband, so I put them aside to decide what to do with them. 

Anyway, a while ago I made them up, adding a shield to one of the figures, and undercoated them, and looked at them for a few weeks until I decided that I'd paint them up and try and sell them on at the next Tabletop Sale or on the Bring-and-Buy table at our annual Reveille II show, which is on 26th November.


I am reasonably happy with the way they have turned out, I've tried to make them look a bit shabby and functional rather than "parade ground", with some chipped paintwork on the edges of the shield and hopefully they will find a home, otherwise they'll end up on Ebay and, failing a sale by that route, they'll get stuck in a drawer and forgotten.

Thursday, 12 October 2017

More recruits for my Congo expedition

I've been working to get the rest of my Congo figures painted before Sunday, because I am playing a game with them. The good news is that I've finally finished them and here they are. First, here is the expedition's Kirangozi or guide, with two bearers.


And now some armed figures to protect the expedition and fight off other explorers. First, there are four trained Askaris with rifles. These have been given a basic uniform;


Next, some more Askaris, equipped with muskets and locally-recruited. These guys have less training and a less uniform appearance;


Now for the rest of the expedition's troops. First some Ruga Ruga, mercenary fighters who are little better than bandits, once again equipped with muskets;


And finally, five young tribal warriors, armed with assegais and shields. I could also use three of these as scouts if required.


These last two groups feature in other columns and expeditionary lists, such as the Zanzibari one that I will be working on next. I also have some other figures that I will be painting up, but I'm keeping those secret for now.