It's been a while since I've had a chance to use my nice Lurkio late-17th century French and Anglo-Dutch armies, which were the inspiration for my Sharp Practice mods, which were published in the TooFatLardies 2017 Summer Special.
Since first seeing these mods in print, they have undergone a revision and some resulting changes. This was a chance to playtest those revisions again and see how things could be tightened up and clarified.
I must say, in passing that I am really pleased to see that Lurkio is continuing to operate under the aegis of Simon Hall's The Wargames Zone. It did look at one point like the company would cease to exist, but happily these terrific 15mm figures are still going to be produced.
In this game at the club last Sunday, I took command of the Anglo-Dutch army while Brian commanded the French.
The battle was an encounter between the two armies on the outskirts of the (fictional) Dutch town of Grolschbeek. The Anglo-Dutch were first on the field, with a cavalry brigade moving sharlpy towards the Grolschbeek junction. The aim was to secure the right flank before the French could deploy.

Elsewhere, a regiment of Dragoons took up a position in the gardens of a manor house on the Anglo-Dutch left flank. The !st Regiment of Foot (the Royal Scots) advanced, flanked by two Danish regiments of Foot. The Nassau Horse protected their right flank as they formed a defensive line.

The French began to advance across the main road into Grolschbeek, with the Rohan and Villeroy Horse supporting the Languedoc and Champagne regiments of Foot.

The Dragoons waited, relatively secure behind some hedges with a cornfield forming something of an obstacle to the French.

The English Horse began to deploy on the outskirts of Grolschbeek, behind the advance of the Nassau Horse.

Things began to get crowded as regiments in column and the artillery began to emerge from the Anglo-Dutch camp. The Anglo-Dutch Captain General Lord Lymeswold was finding it hard to get his Elite troops into position before the French advanced.

And here come the legions of Le Roi Soleil, under the command of Maréchal de France, le Duc de Cabecou.

The Dragoons began to fire on the advancing Régiment de Languedoc, supported by the Danish Fynske regiment. Lacking pikes, I hoped that these troops would be able to keep the French at arms length and avoid any Fisticuffs.

The Nassau Horse, perhaps being uncharacteristically impetuous charged into the Régiment du Lyonnais, sustaining casualties and shock.

They were repulsed with losses after a couple of rounds of combat. Elsewhere, the Danes were firing on the French Foot, with the Royal Scots waiting until they had an opponent within close range.

The Régiment de Languedoc took a lot of fire, suffering mounting shock and losses, compelling them to retire due to excess shock. Realising that they couldn't outflank the manor house, the French Horse moved to advance across the Anglo-Dutch left.

Having seen the Nassau Horse fail, both Woods' and Lumley's Horse moved to within charge distance of the French Horse. Woods' regiment came under musket fire, picking up Shock.

The Royal Scots poured musketry into the French Régiment de Champagne.

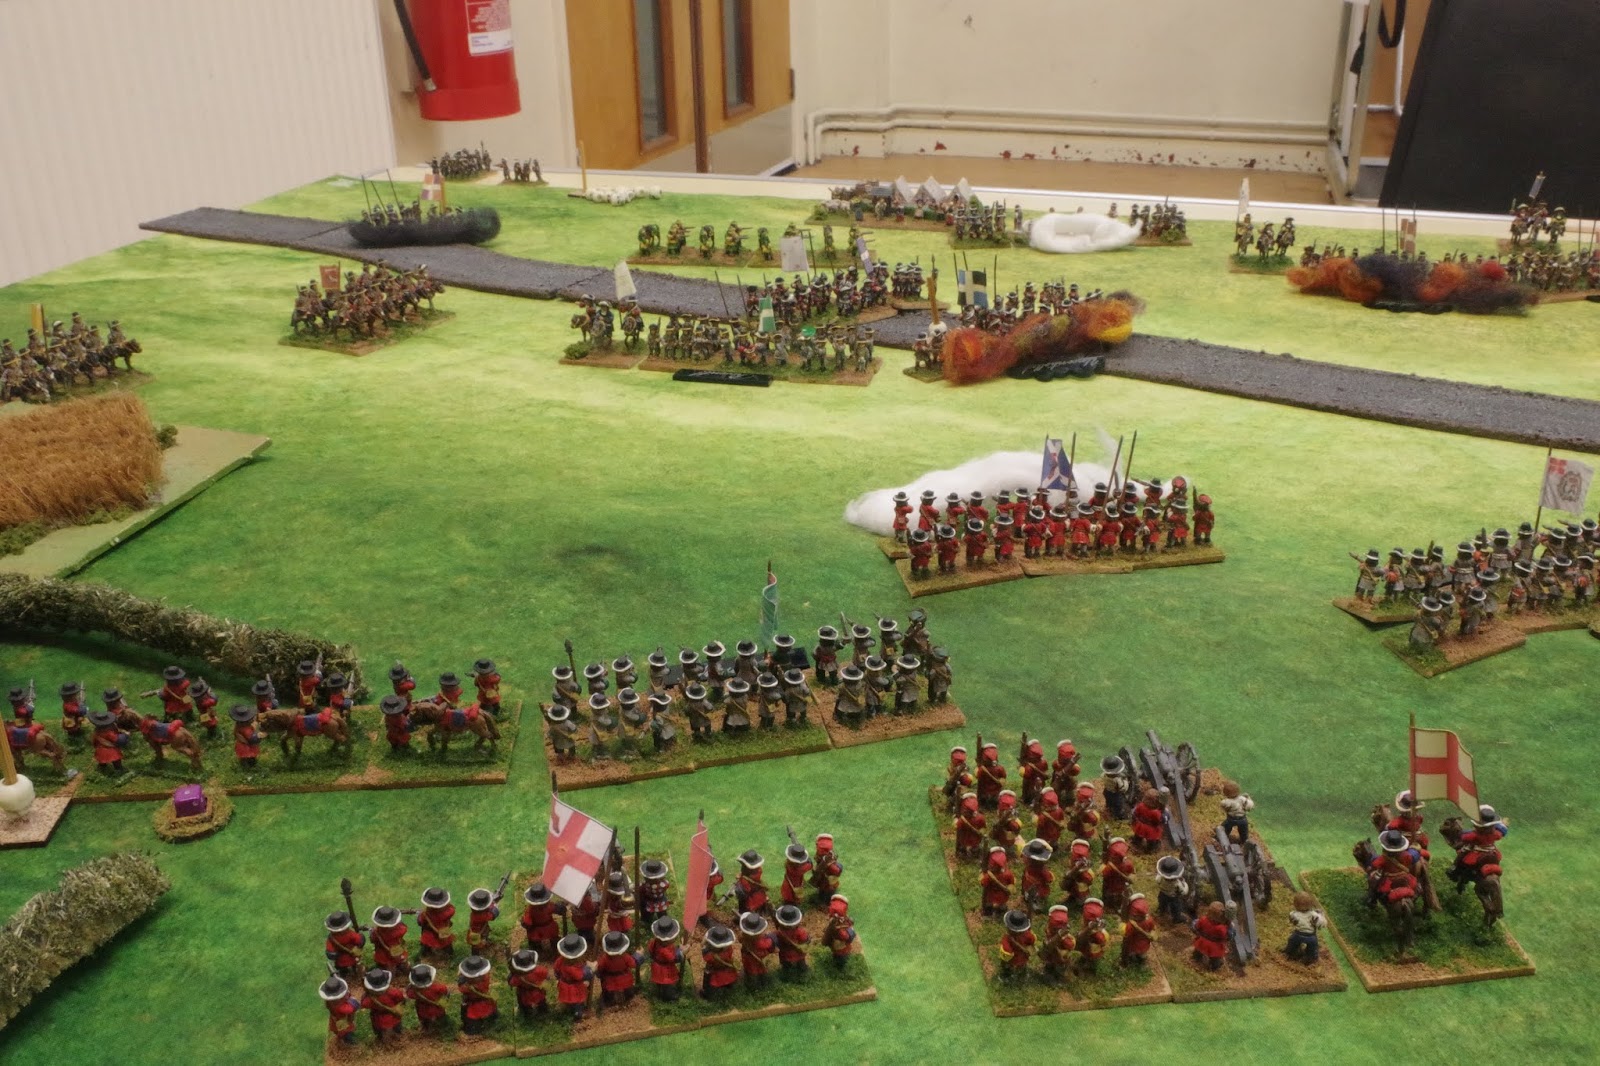
Finally, the English Foot Guards and Artillery move up towards the fighting. Lord Lymeswold directing the advance.
From the French side, the Anglo-Dutch centre begins to look menacing.

Maréchal de Cabecou sent the Régiment de Fimarcon Dragoons towards the French right, as the Gardes Françaises marched in line to fill a gap in the French line caused by the forced withdrawal of the Lyonnais Foot.

On the French left, the formidable Horse awaited the English charge. On the left of this brigade was the elite Régiment du Roi, in blue uniforms.

The two combats were bloody, with both English regiments coming off worse. Lumley's Horse suffered 50% losses and were compelled to retire back to the edge of Grolschbeek and were soon joined by Woods' Horse. However, they still protected the town, together with the remnants of the Nassau Horse.

The Anglo-Dutch centre was looking strong, with the French unable to make any headway against the effective musketry of the Danes and Scots.

At this point we decided to call a halt, because we were out of time.
What had I learnt from this game?
Well, firstly the rule mods definitely do work for these large-scale encounters, especially with the amendments made since I first wrote and tested them. Secondly, the game does seem to give a reasonable brigade level simulation as opposed to the standard SP skirmish games. One might say that it is "Sharp Practice, Jim, but not as we know it".
I am a huge fan of Sharp Practice and the Shooting and Combat mechanisms are simple and effective and do translate well to use with larger units.
One thing that I think needs to happen is giving each brigade its own Deployment Point rather than having a single one for the entire army, because that leads to massive bottlenecks early on which prevent troops from deploying. The Dutch Garde Te Voet never really got anywhere near the battle.
I have rewritten my rule modifications, adding some clarifications, so I hope very soon to play through them again.


