Tuesday, 24 October 2017

Frostgrave: Ghost Archipelago - the Postman Rang Once

I've been eagerly awaiting the postman today, because I was really hoping that my Ghost Archipelago Nickstarter would get delivered and, just before noon the doorbell duly rang. I'd had an email on Sunday from Annie at Bad Squiddo to say that it had been packed and sent, so it wasn't really that much of a surprise.

Anyway, what was in the box?

First off, I love the personalised Bad Squiddo postage sticker.


And here is Annie's personalised delivery note, the obligatory Gunny Pets and a complementary fruit tisane teabag. Thanks, Annie! I'll drink it later.


Now, on to the goodies. First, the rule book, the accessory pack and the book of Ghost Archipelago stories (for some bedtime reading!).


Then, there is the box of plastic crew figures, of which more later.


And the crew sheet, which I expect I'll have to scan and print off, so as not to deface the original.


Now, here are the shiny toys. Top left are the four female crew figures, who are lovely castings. Moving anti-clockwise, there is my chosen Heritor and Warden (I went for a female Stormwarden), the Pirate Queen (she is spectacularly good) with her pet giant iguana, who is clearly going to have to be called Iggy Pop, three one-off add-on figures from Northstar, five resin tokens and, in the centre a Bad Squiddo Ghost Archipelago badge. I've not cleaned the figures up, just trimmed off some of the more obvious bits of flash, but overall they are pretty clean castings and have bags of detail that will look brilliant once painted.


Next, here is the contents of the plastic 28mm crew box. Four sprues of bodies, heads, arms, weaponry and whatnots, which is what one would expect from a Frostgrave box. Plenty of opportunity here to create a characterful and hopefully unique crew for your games. There are also two sprues of 25mm diameter bases. There are plenty of weapons options; swords, axes, spears, bows, crossbows, club etc and some small buckler-style shields, plus quivers, pouches and other bits and pieces. I am rather drawn to creating an Arabian Nights styled crew, because that is the look of the metal female crew members too. Plenty of thinking is required here, though.


Almost at the end now, so here is the contents of the accessories box, the game cards and a special Blood Burn die for recording the decreasing health of your Heritor.


Last but not least, here is a sample of the excellent artwork in the rulebook. From an initial flick through, the art is of the usual high standard we have come to expect from Frostgrave.


So, what now? Should I get started on these, finish off my Congo miniatures or make a start on my "My Last Sunrise" Vampire Hunters and Undead and supernatural minis? The lead mountain grows apace .......................

Monday, 23 October 2017

Another Sharp Practice American Civil War AAR

I played another game of Sharp Practice yesterday at the club against Richard, who hadn't played the game previously. He said later that he'd found the activation via card mechanism a bit odd at first, being used to I Go, You Go games generally, but once it had sunk in he enjoyed the game.
            
All the troops are from my Peter Pig 15mm ACW armies, and the resin buildings, animals and civilians are also Peter Pig. The fences are by 4Ground. The rest of the scenery belongs to the club.

Scenario

This was an mid-war scenario where both sides were made up of regulars. All infantry were equipped with rifled muskets. The Union cavalry had breech-loading carbines and the Confederate cavalry had Mixed Weapons (half rifled muskets and half close range firearms).

The Union forces (Me), led by Captain Bradley Stoke, have been sent forwards to test the Confederate defences and also to forage for food. Led by cavalry, they have found a hamlet where there are supplies (represented here by four stands of pigs and sheep). The mission is to make off with supplies but also to cause casualties to any Confederate forces they come across.

The Confederate forces (Richard), commanded by Lieutenant Nahum G. Pierce are charged with protecting the hamlet, but initially are unsure of the direction of approach of the Union troops.

 
Union troops

2 groups of 8 cavalry (dragoons) with with a Status 2 Leader, Lt Travis Perkins
4 groups of 8 infantry (regulars) with a Status 3 Leader (Capt. Bradley Stoke) and a Status 1 Leader (2nd Lt Richard Cunningham)
1 group of 6 skirmishers (Berdan's Sharpshooters) with a Status 1 Leader, Sgt. Henry Gibson)

Additional: Water Cart, Musician (bugler) , Physic and Status 1 Leader (Cpl Lyle Tate)


Confederate troops

1 group of 8 cavalry (dragoons) with with a Status 1 Leader (Lt. Byron Beausoleil)
4 groups of 8 infantry (regulars) with a Status 3 Leader (Lt Nahum G. Pierce)
2 groups of 6 skirmishers (One being Louisiana Tigers) each with a Status 1 Leader (Cpl Cooter Davenport, Sgt Randolph Cartwright)

Additional: Status 1 Leader (Sgt. Cecil Green), Musician (bugler), Colour Party and Mule Train

 Here is the table before any troops emerged.


The Union troops would deploy from the far end of the table, with the Confederates moving on from the closest end. The first troops to appear were the Rebel cavalry and the Louisiana Tigers skirmishers, who were rated as Good Shots. groups of sheep and pigs were placed in pens, to be the target of the Union troops and there were a number of non-combatants in the hamlet.


The Union infantry began to deploy and move forwards but the cavalry were delayed for some reason for three rounds of play. This would be a cause of concern. I had hoped to use the cavalry to secure an advanced position early on to prevent the Confederate infantry from moving at will.


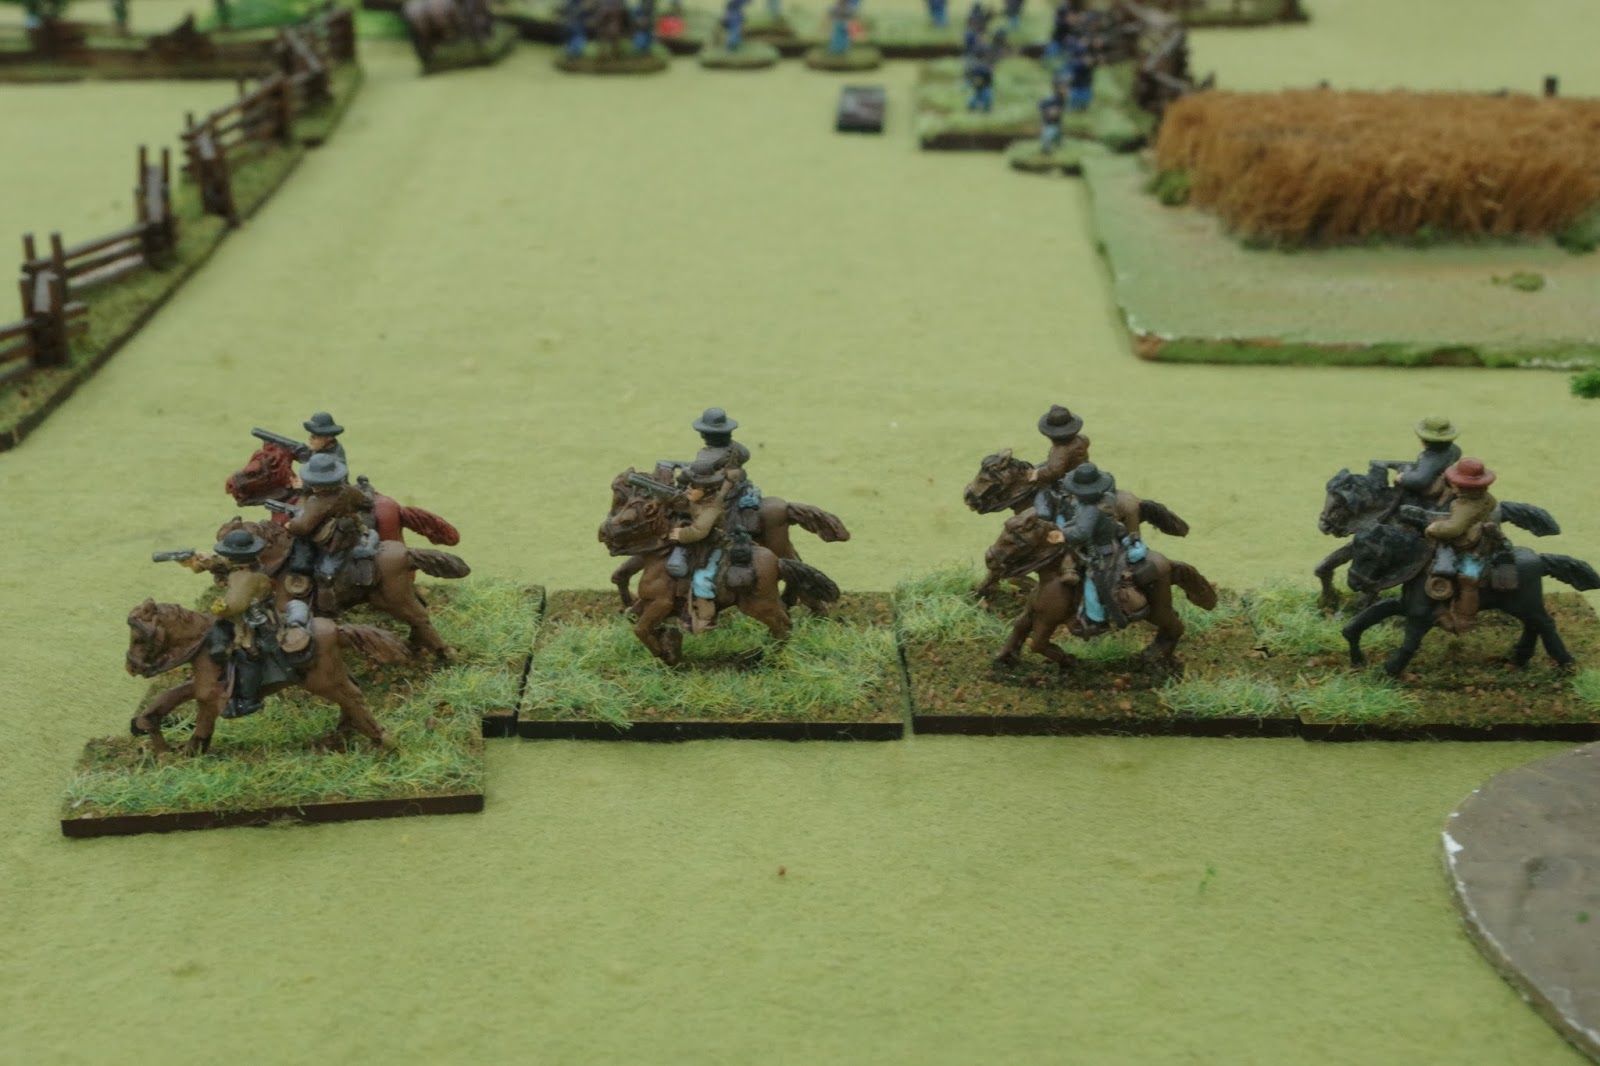
The Rebel cavalry embarked on a long flanking movement on the left flank as more Rebel skirmishers appeared, led by Cpl Davenport.


The Union troops began to advance, with the main body of infantry in the centre, supported by Berdan's Sharpshooters. One group of infantry were given the task of defending a line of fences against the threat from the Rebel riders.


Finally Lt Travis Perkins arrived with his two groups of carbine-equipped cavalry, swinging round to attack the Confederate right flank.


Unfortunately, at this point the Union troops were crippled by inertia for two turns, with no Blue Leader cards being dealt. This would prove to be a fatal problem for the infantry in the centre, while the Confederate cavalry continued their flanking movement.


The main body of Rebel infantry soon deployed along the perimeter fences of the hamlet, pouring volleys of fire into the hapless immobile bluecoats.

Union casualties mounted, as did their level of shock. The musketry of the Louisiana Tigers was especially damaging. The advance stalled.


The Confederate cavalry stayed clear of the fighting and attempted to get behind the Union troops. In the end, though, they would be seen off by Union musketry, accumulating a lot of shock in the process, leaving them unable to mount a convincing threat to the Union Troops.
 

Things looked a bit brighter on the Union left, as the cavalry pushed up before dismounting in the wooded ground, from where they could deploy their carbines too good effect.
    

Things were definitely grim in the killing ground in the Union centre. No ground was made at all and before long the infantry were forced to withdraw. Force Morale suffered. The Berdan's Sharpshooters were able to fire back, and had some success against the Louisiana Tigers who had advanced into the broken ground outside the village.
     

The Confederate skirmishers in the woods were driven off by accurate short range fire from a group of Union infantrymen.
    

The Union troops advanced, causing casualties and forcing the Confederate infantry in the village to redeploy to meet the threat. To the front of the village, a huge cloud of black powder smoke hung over the field, obscuring the view for both sides.
    

This fire-fight took up the last few rounds of combat before it became apparent that the Union troops were never going to be in a position to make off with any livestock, having suffered more casualties than the Rebels and with their troops taking a lot more shock. Therefore, the only prudent course was for Capt. Stoke to order his bugler to sound the recall.

So, in the end, a first Sharp Practice victory for Rich and his Confederates.

Friday, 20 October 2017

Some plastic Mordheim figures

I bought a sprue of plastic Games Workshop Mordheim figures earlier this year at the club's Tabletop Sale. My original idea was to use them as warband members for Frostgrave, but in the end I didn't think that they suited the theme of my warband, so I put them aside to decide what to do with them. 

Anyway, a while ago I made them up, adding a shield to one of the figures, and undercoated them, and looked at them for a few weeks until I decided that I'd paint them up and try and sell them on at the next Tabletop Sale or on the Bring-and-Buy table at our annual Reveille II show, which is on 26th November.


I am reasonably happy with the way they have turned out, I've tried to make them look a bit shabby and functional rather than "parade ground", with some chipped paintwork on the edges of the shield and hopefully they will find a home, otherwise they'll end up on Ebay and, failing a sale by that route, they'll get stuck in a drawer and forgotten.

Thursday, 12 October 2017

More recruits for my Congo expedition

I've been working to get the rest of my Congo figures painted before Sunday, because I am playing a game with them. The good news is that I've finally finished them and here they are. First, here is the expedition's Kirangozi or guide, with two bearers.


And now some armed figures to protect the expedition and fight off other explorers. First, there are four trained Askaris with rifles. These have been given a basic uniform;


Next, some more Askaris, equipped with muskets and locally-recruited. These guys have less training and a less uniform appearance;


Now for the rest of the expedition's troops. First some Ruga Ruga, mercenary fighters who are little better than bandits, once again equipped with muskets;


And finally, five young tribal warriors, armed with assegais and shields. I could also use three of these as scouts if required.


These last two groups feature in other columns and expeditionary lists, such as the Zanzibari one that I will be working on next. I also have some other figures that I will be painting up, but I'm keeping those secret for now.

Friday, 29 September 2017

Some 28mm figures for Congo

I've had some figures for Congo for a while now, but painting them has been a slow activity. I made a start a while ago, but then bought a load more figures at Colours in Newbury the other week.

Still, the first elevn figures are now complete. They are all Wargames Foundry 28mm figures from their Darkest Africa range, some of which I bought as a Congo "White Man's Expedition" box set, and the rest in a blister pack at Colours, described as "Deadlier Than The Male".


These are three Stout Chaps, ready to brave the perils of the Dark Continent.


And not to be outdone by the men, here are three Liberated Ladies, to accompany the chaps and make sure they stick to the task in hand. I am not sure about the fourth figure. She clearly went to the Wrong Sort Of School and appears to have gone native.

Finally, here are four more Ladies, who will no doubt feature in all sorts of games. I can see the young woman with the book perhaps being some kind of investigator of suspicious supernatural goings-on. The one with the pistol clearly isn't going to put up with any funny business and the fashionable lady-about-town with her prim elderly companion may well end up in the jungle in some capacity.


Unhappily, after I'd photographed them, I noticed that there were a few bits of extraneous fibre stuck randomly to a couple of the figures. This has now been removed, but I couldn't be bothered with photographing them again.

These could also be used in some Sharp Practice scenarios set in a slightly later period than the current rules.

I have a whole load more Foundry minis to paint now; Askaris, Ruga-Ruga, tribal warriors with assegais and shields, Zanzibaris, Baluchis, a few British infantry and a few French freebooters who look like deserters from La Légion Étrangère, who will be perfect as soldiers in an expedition of some kind. This is beginning to look like an excellent project.

Monday, 25 September 2017

Breakthrough in Normandy - an IABM AAR

I played a game of IABSM at the club yesterday against a potential new member, Steve who contacted me via the IABSM Facebook group. I created a scenario based upon Scenario No. 5,  Breakthrough in the IABSM rulebook.

The British need to advance along the only road towards the village of Ste Madeleine-sur-Fleuve. To do this, the main force has sent a relatively strong mobile scouting group down the road to probe the German defences and hopefully force a breakthrough. This forces consists of two troops of tanks (each with 3 x Cromwells and 1 x Sherman Vc and L2 BM), one section of carriers equipped with Vickers MMGs (L3 BM) and two rifle platoons (one in 4 half-tracks and one carried as tank riders, L2 BM). The HQ (L3 BM, L2 BM) for this force has an attached platoon of 4 x 3” mortars carried in 4 Loyd carriers and is carried in a half-track. Each rifle platoon has one member designated as a sniper.

Chips

British Armour 1
British Armour 2
British Platoon 1
British Platoon 2
British Support 1 (MG carriers)
British Support 2 (mortars)
British Sniper
British Big Men 1-7
Armoured Bonus

There is a German defence screen ahead of the village which has been ordered to stop the British advance, to allow time for the Germans to complete their  withdrawal towards the major town of Falaise to the south.

The German force consists of two Zugs of Panzergrenadiers (each with L2 BM), supported by 2 SdKfz 251 Stummel half-tracks with short 75mm howitzers (L2 BM) and two Marder III Ausf. M with 75mm Pak 40 a/t guns (L2BM) and a Zug of 3 x Panther tanks (L2 BM). The HQ  (L3 BM) for this force has a section of 3 x Panzerschrecks and 2 x MG42 teams. The Germans are dug-in behind some hastily-built field defences.

Chips

German Armour 1
German Platoon 1
German Platoon 2
German Anti-tank 1 (Marder IIIs)
German Support 1 (short 75mm halftracks)
German Support 2 (Panzerschrecks)
German Support 3 (separate MG42s)
German Big Men 1-6

Note that neither side has a chip for the HQ. This is because any HQ-attached elements have their own chips. In addition to the Tea Break chip, the bag contains two blank chips which act as a countdown. Once the blank has been drawn 12 times, the game ends.

We rolled a D6 to see who would be the British and who would be the Germans. I rolled higher and chose to play as the German commander.

The terrain is relatively flat with some hedges breaking up the ground, a couple of lines of bocage (marking the German deployment area) and a small wooded area from which the British troops will emerge. There is a small reservoir by the road and a walled potager at the German end of the table. The ploughed fields on the side of the road are designated as soft going (-1" on each movement dice). The temporary German field defences can be seen to the left of the reservoir and the right of the road.


The British advanced under blinds but two units were soon spotted by the defenders. These were one of the tank troops and the carriers armed with Vickers MMGs. These could fire on the move.


Most of the German defenders were hidden in the deployment area but there were a few units under blinds. One was spotted by the carriers and was exposed as a pair of Marders.


The British tanks opened fire, and one Marder was immediately knocked out by the troop Sherman Vc with the 17-pdr gun.


The second Marder would soon follow, leaving the road almost open for the British to drive hell-for-leather towards Ste Madeleine-sur-Fleuve


The Germans began to emerge from under their blinds, with the main threat being the weakened Zug of three Panthers.


The Panthers were soon in action and two Cromwells were hit, causing them to brew up. One was the tank with the troop commander.


One Panther was knocked out by the Sherman Vc in the tank troop as the 2" mortar with the platoon which had been riding on the tanks laying down smoke to obscure the British advance.


Realising the the British intended to use speed to get past the German defences, which had been across the table in the bocage, the first Panzergrenadier Zug began to advance across the open ground, secure in the knowledge that the British infantry in the ploughed field were pinned by 75mm howitzer fire from the Stummels. Elsewhere, the Panzerschrecks had destroyed two of the carriers, and damaged a third as the British continued their thrust along the road. There were two British units still under blinds. The Armour Bonus chip was helping the British move quickly.


The  rear tank troop engaged with the Panthers at short range, but without any luck. The Germans were more accurate and the remaining two British tanks were soon taken out by the long 75mm guns on the Panthers.


The Panzergrenadiers advanced on the British platoon pinned in the field and wiped them out. A Panzerfaust managed to damage one of the Cromwells in the other troop but couldn't prevent the Rifle platoon in the half-tracks (under a blind), the remaining two carriers and the tank troop from getting off the table, with the Panzerfaust and MG42 teams being wiped out by Vickers fire. However, the victory conditions were that four units with at least 50% of their original strength remaining should exit the table and this was no longer possible, so this game ended up as a victory for the German defenders.

This was an interesting game, not least because I had expected the British to advance on a wide front and deployed my two infantry Zugs in a line across the table. Steve, however had other ideas and went for a mad dash along the road. The only unit held back was the mortar platoon, who stayed unused under a blind at the back of the table. Steve was never able to use the firepower of the 3" mortars to suppress the German defence. 

What really mattered here was whose firepower was best and it turned out that the three Panthers were more than a match for the British tanks, excepting the destructive power of the 17-pdrs on the Shermans.

A couple of notes about the way I planned the scenario. 

First, I rolled a dice to see who would be attacking and who would defend. 1,2 or 3 was a German defence and 4,5 or 6 was a British defence. I rolled a 2, so the Germans were the defenders.

Then, I used a dice to select which tanks would be available for the Germans.

1-3 Panzer IV
4-5 Panther
6 Tiger I

Then I rolled again to see how strong the Zug would be. A full-strength Zug is five vehicles. The roll would be as follows;

1 or 2 - full strength
3 or 4 - one vehicle under strength
5 or 6 - two vehicles under strength

I then rolled a D6 to see if the anti-tank unit would be Stug IIIs, Marders or Pak 40-equipped SdKfz 251 half-tracks. I'd already decided that only two would be available. Clearly, Stugs would be the best choice here, but it wasn't to be.

Thursday, 21 September 2017

British Airborne platoon for Chain of Command

A few days ago I realised that I never posted a picture of my British Airborne platoon that I'd painted months ago for Chain of Command. So, here it is;


These are all Peter Pig 15mm figures, once again with the Leaders on 2cm bases and the other ranks on 1.5cm bases, plus snipers, PIAT team and the 2" mortar on 3cm bases. The platoon consists of an HQ, with a lieutenant, a platoon sergeant, a 2" mortar team, a sniper team and a PIAT team, two sections of 10 men, split into a Bren team and a rifle team and led by a sergeant and a third team, again led by a sergeant, with two Bren teams with one man equipped with a Sten, plus a sniper team. The rifle teams also have one man with a Sten. There is a lot of firepower in this platoon.

To add some colour, some of the figures are wearing Airborne berets and the whole platoon is, of course wearing Denison smocks.